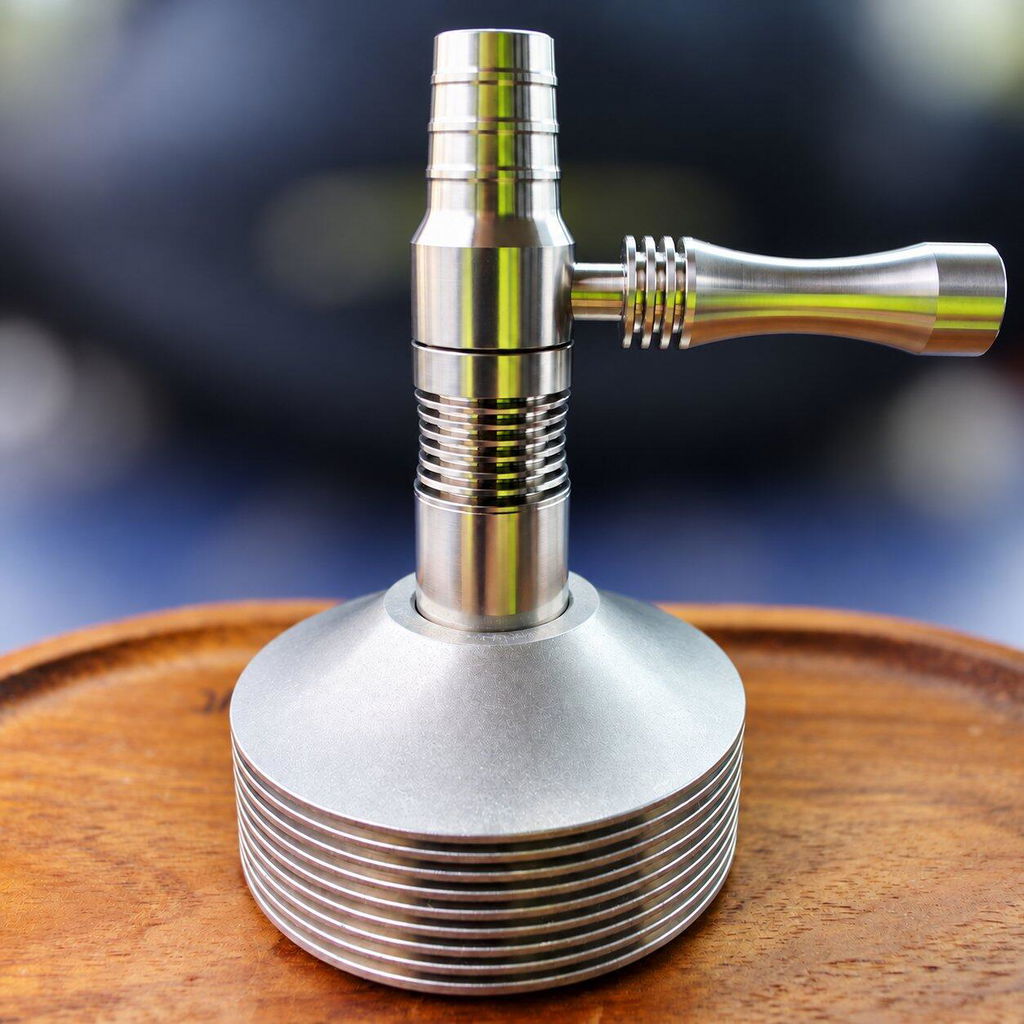
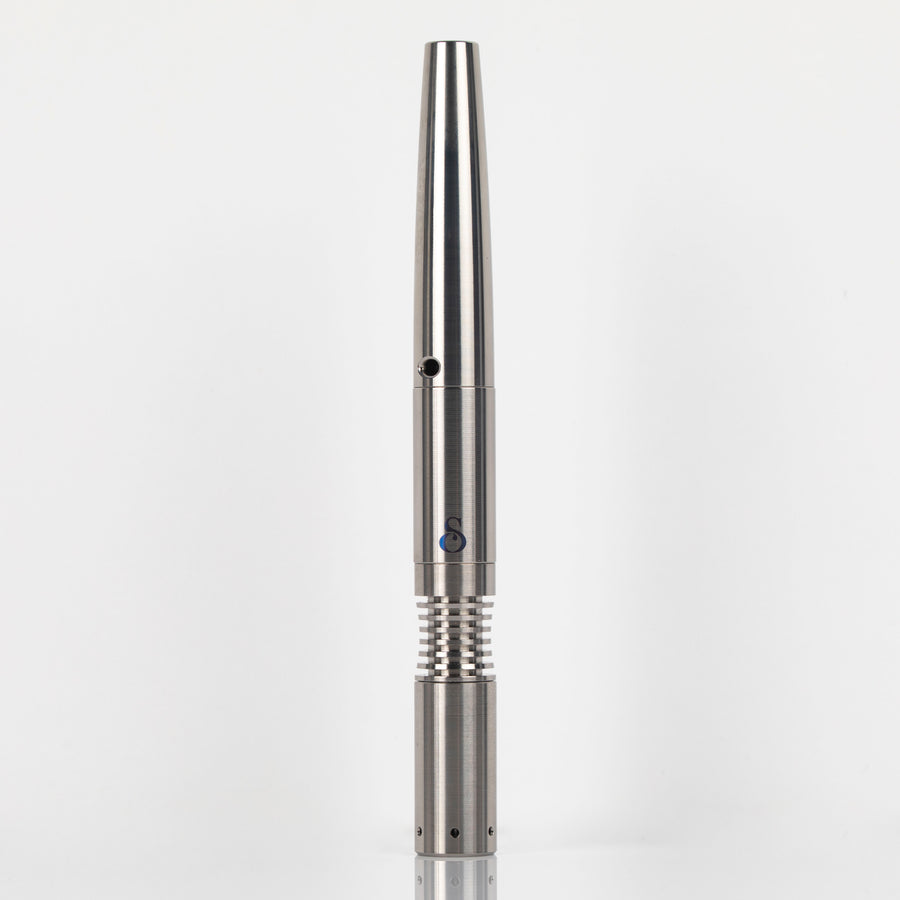
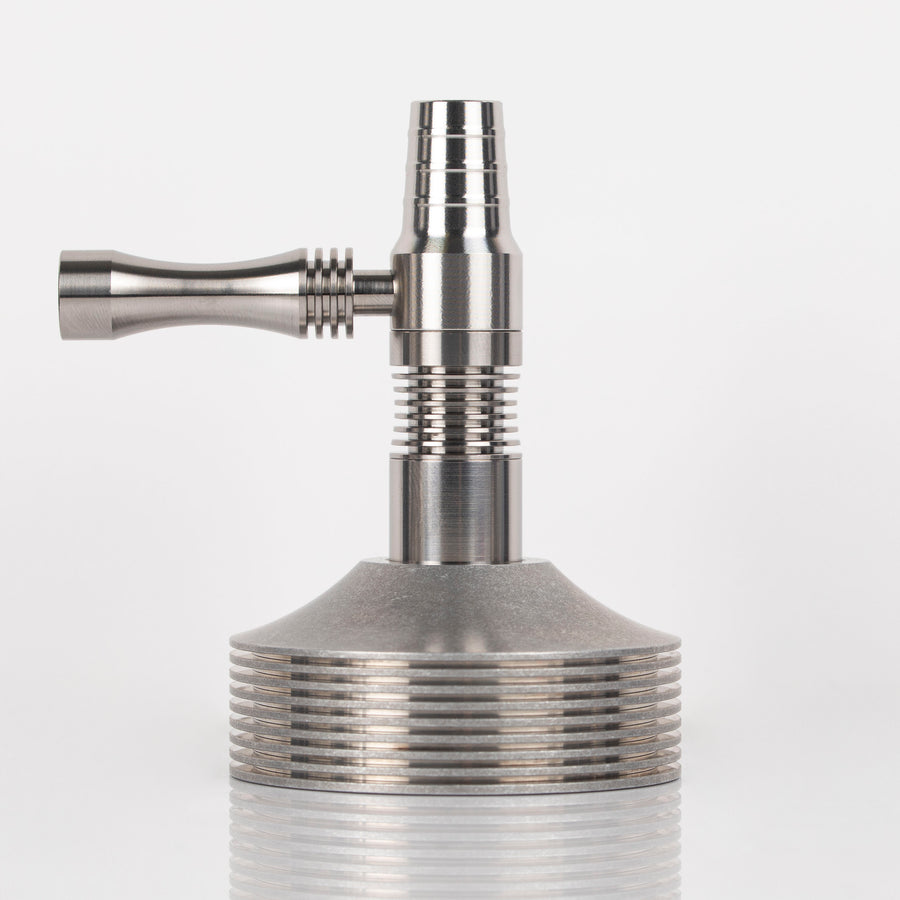
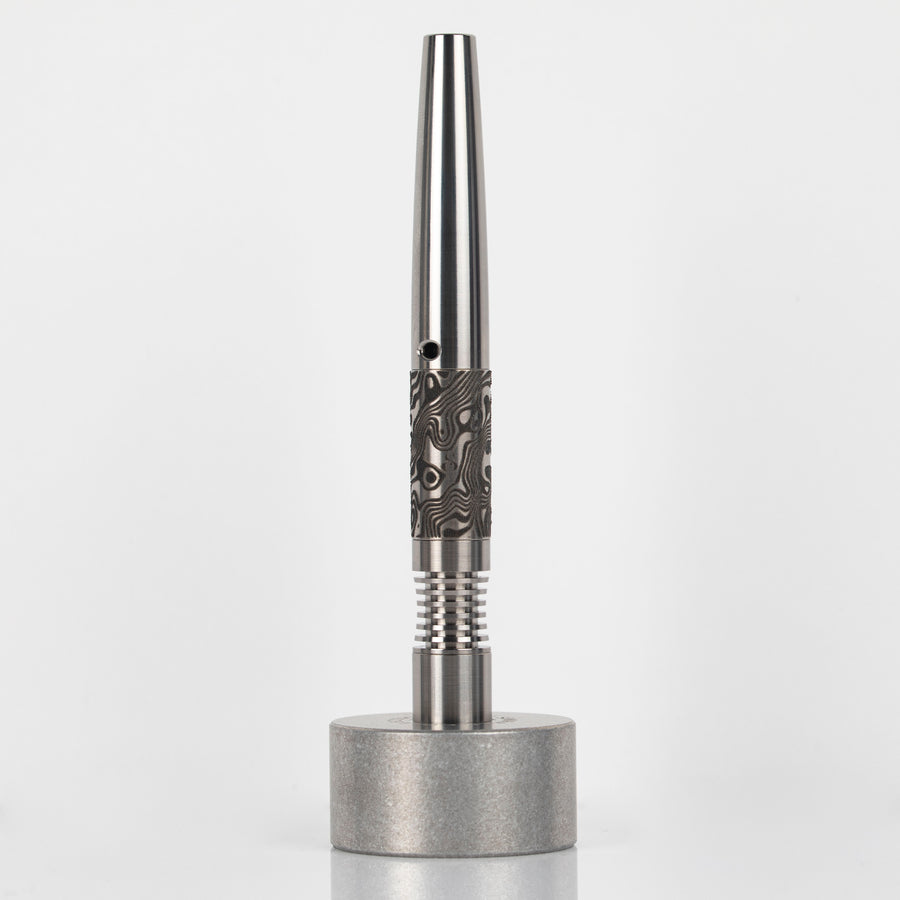
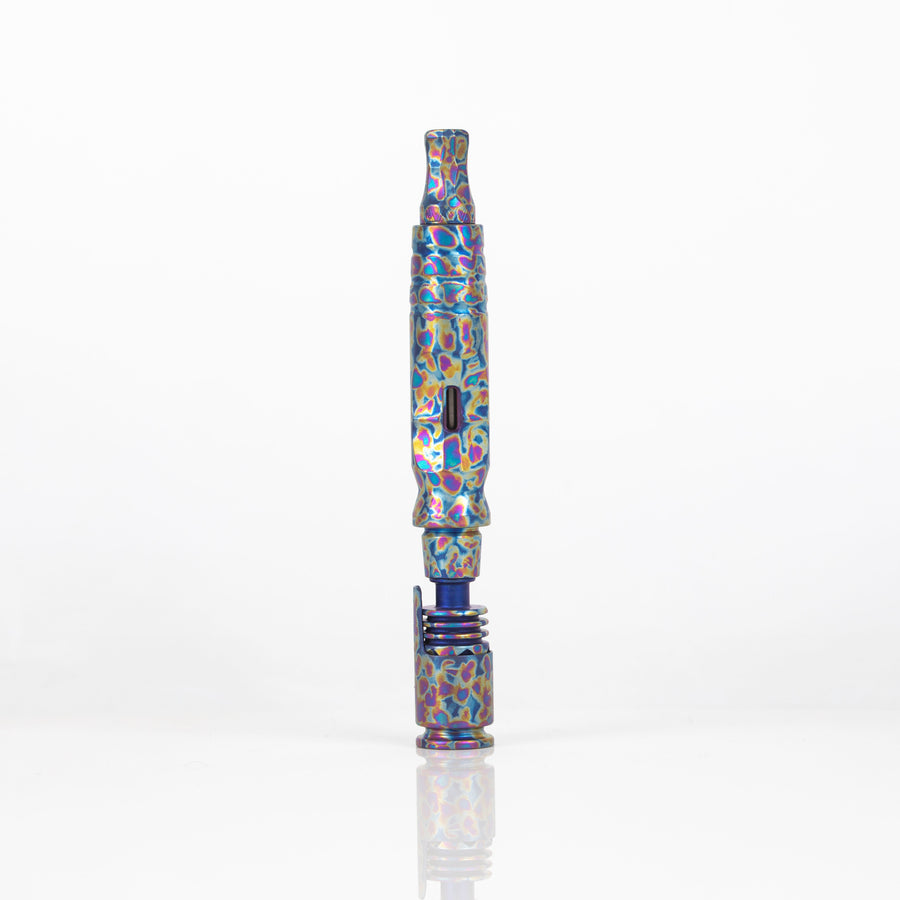
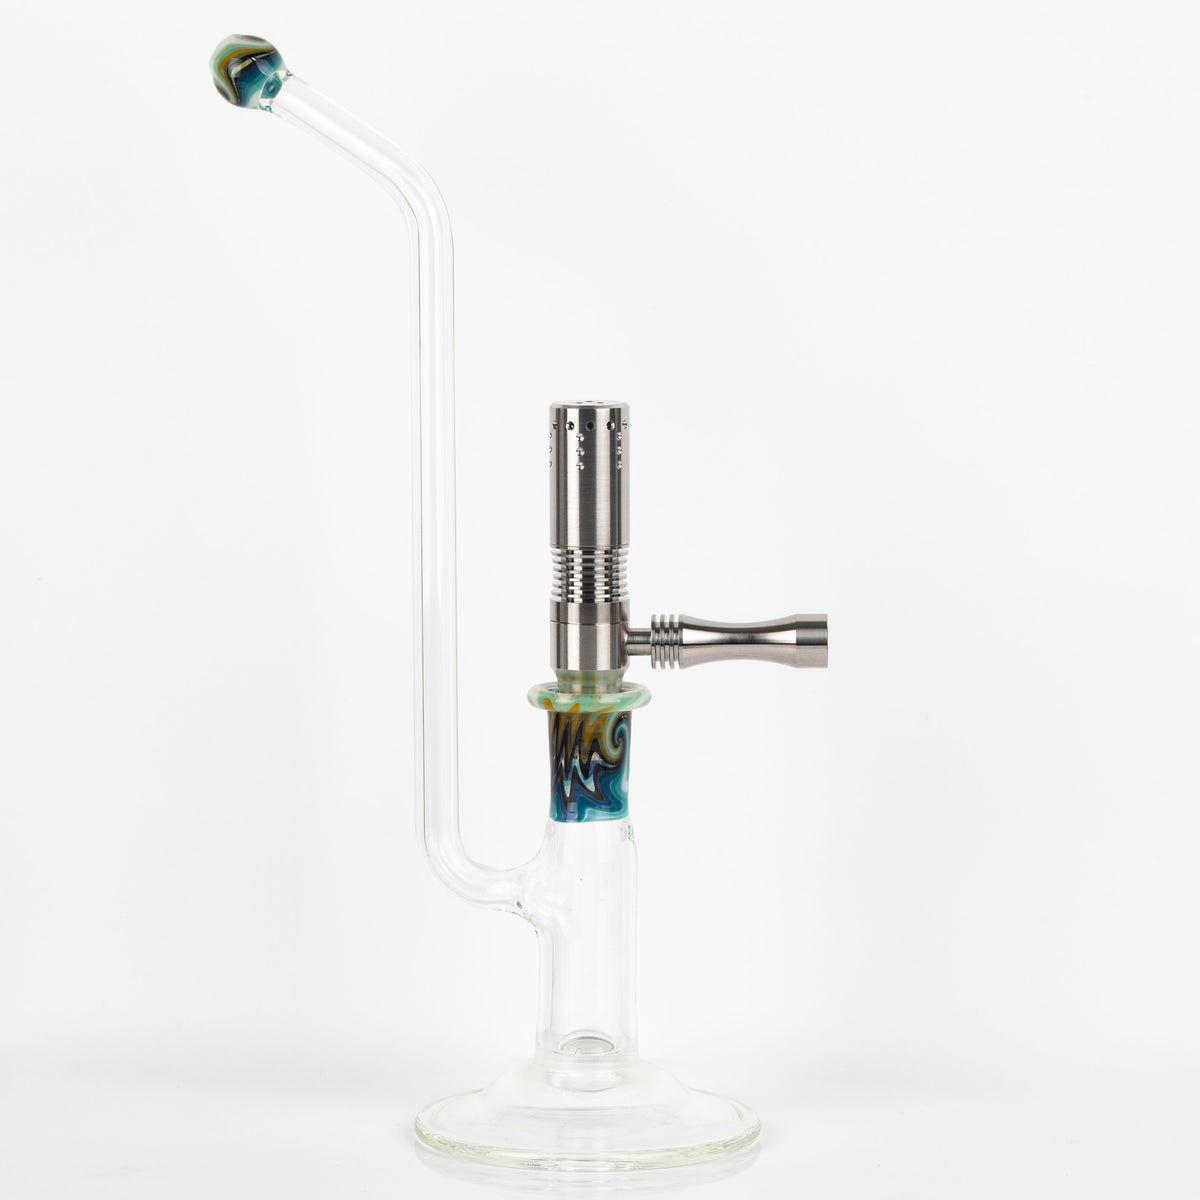
Simrell Hydro XL large-capacity dry herb vaporizer in its cooling stand
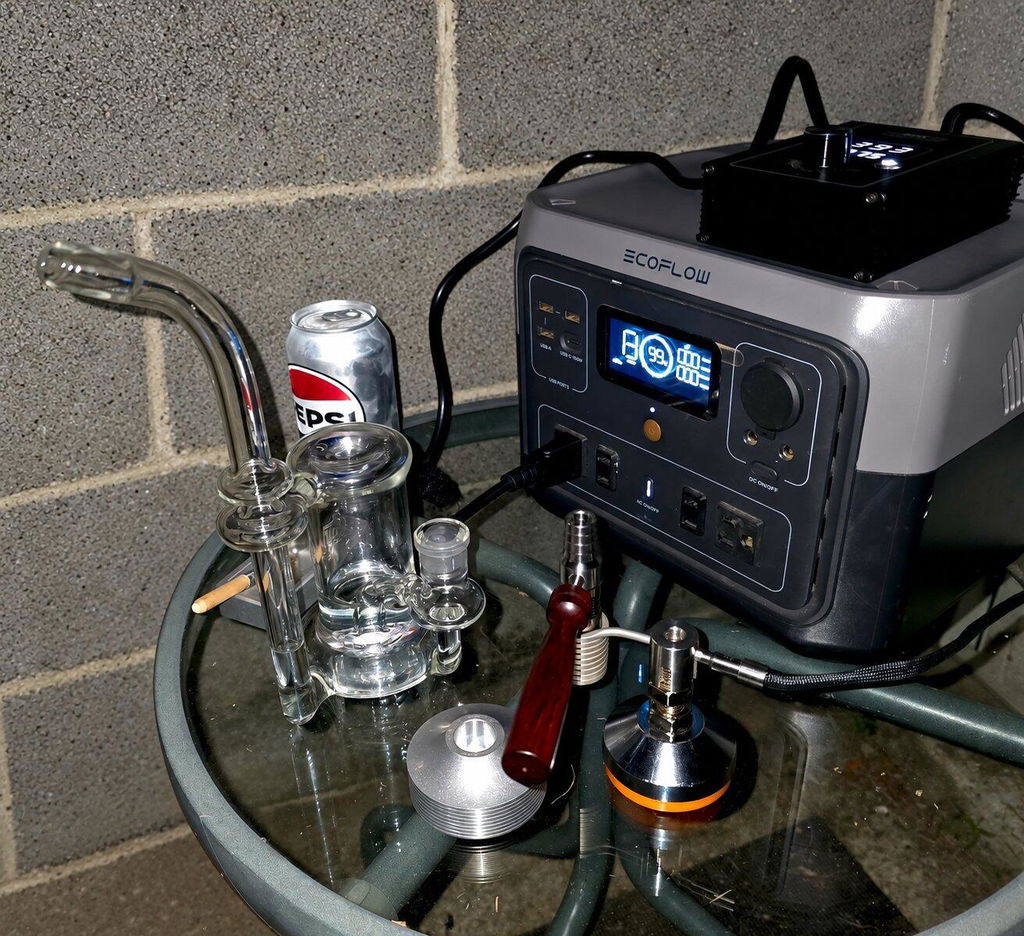
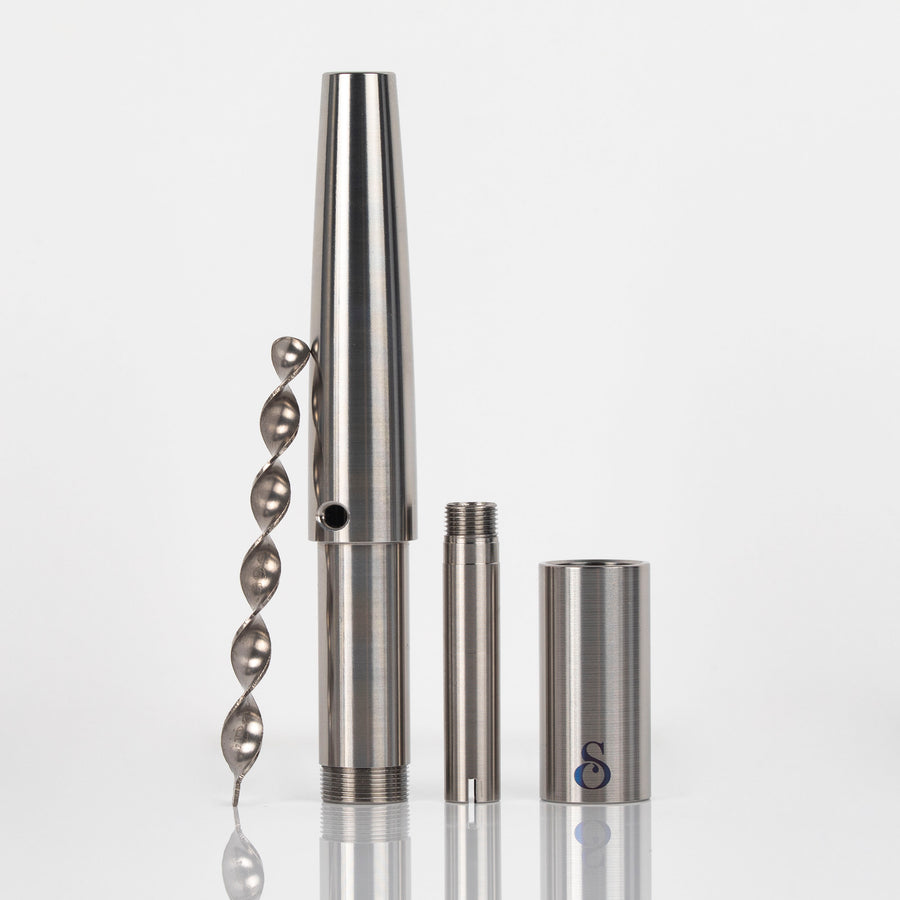
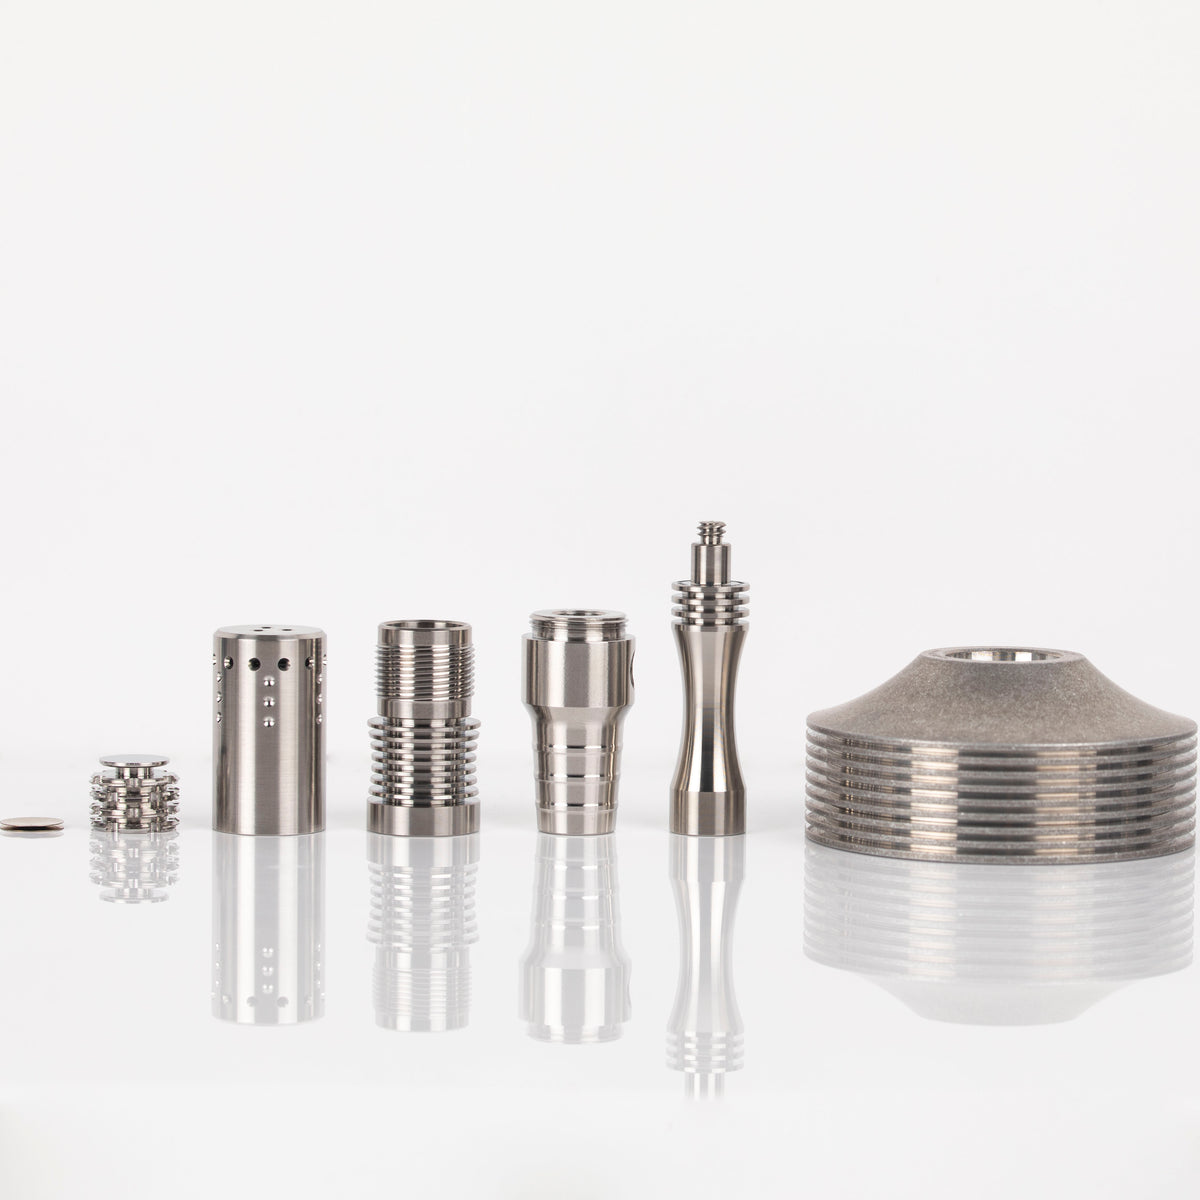
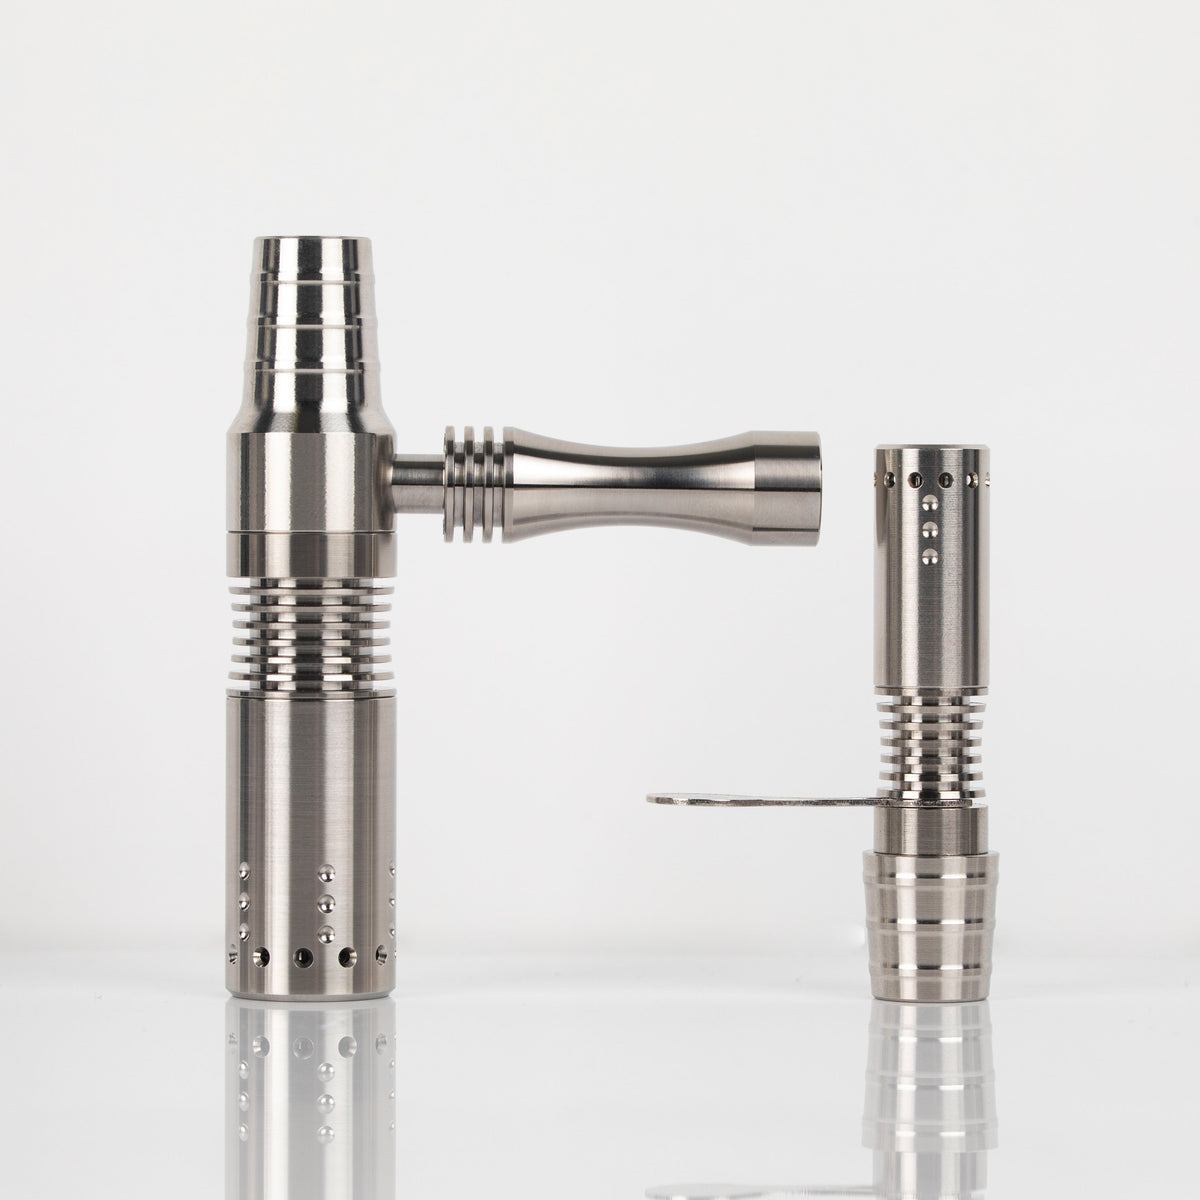
Complete Simrell Hydro XL system laid out: chamber, thermal assembly, titanium handle and aluminum cooling stand
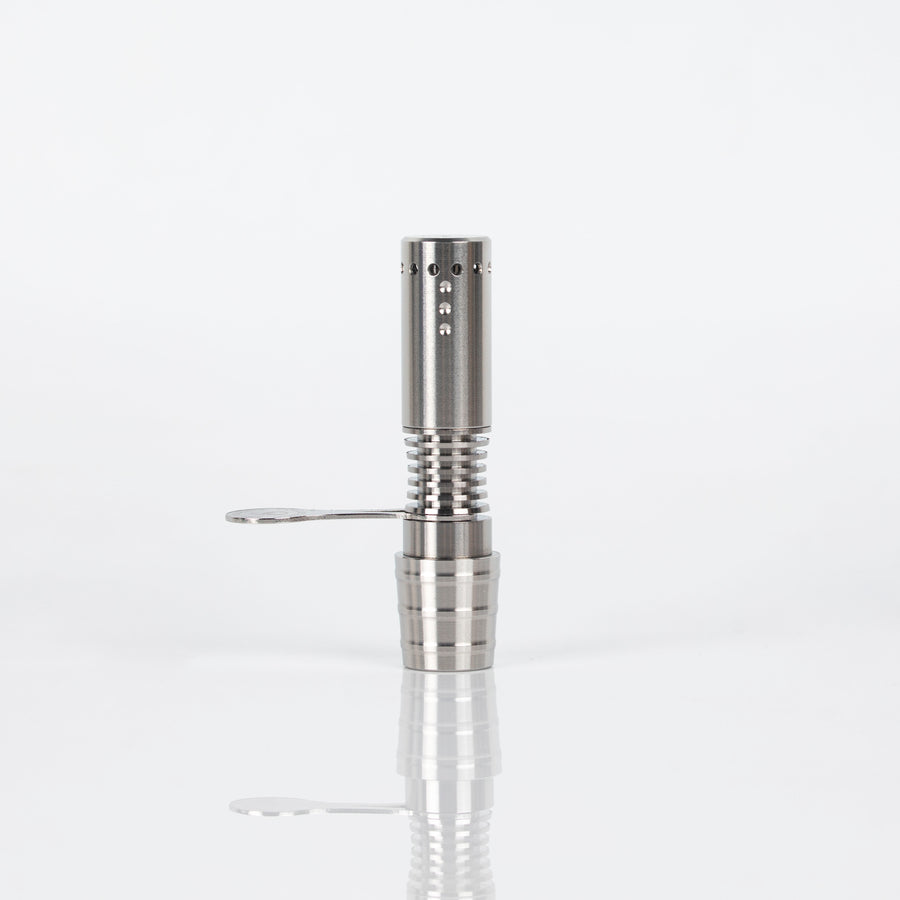
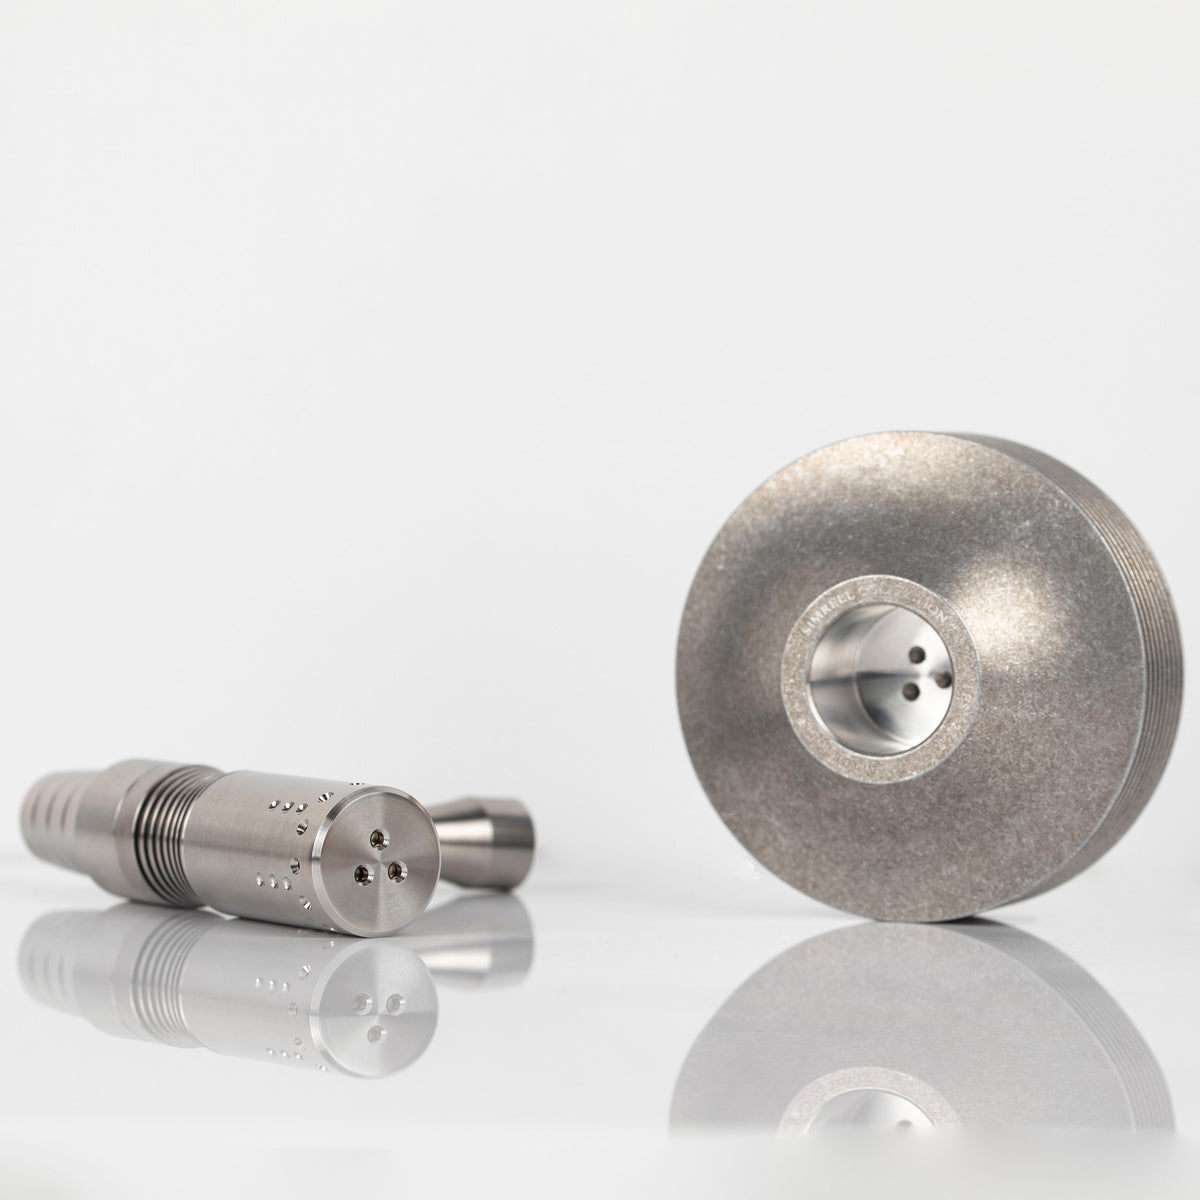
Hydro XL thermal assembly beside the cooling stand and its magnetic 3-post key
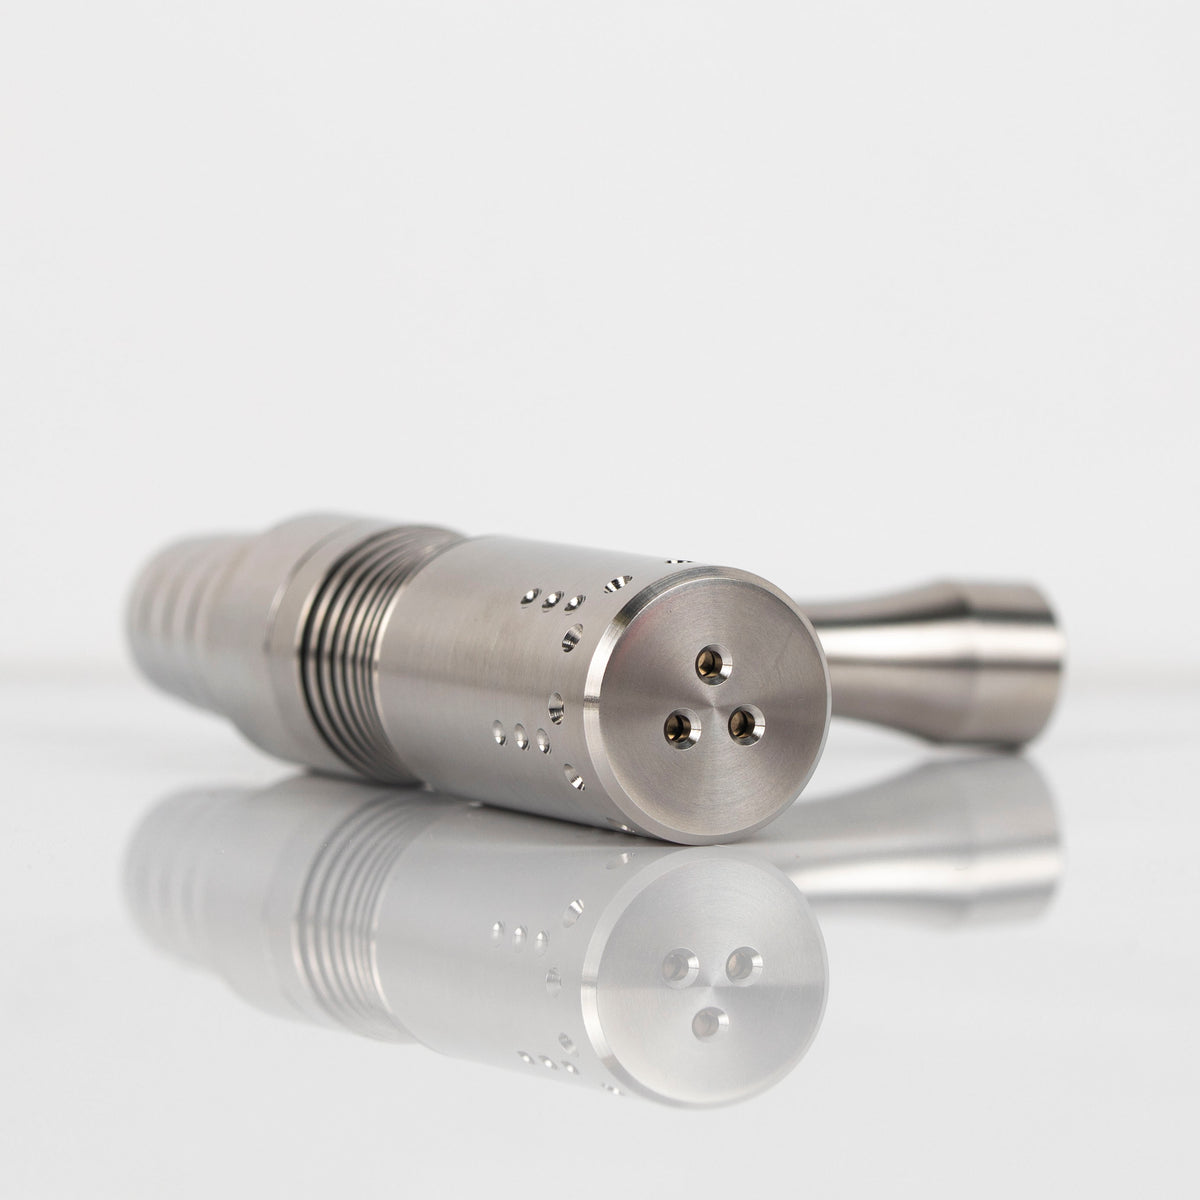
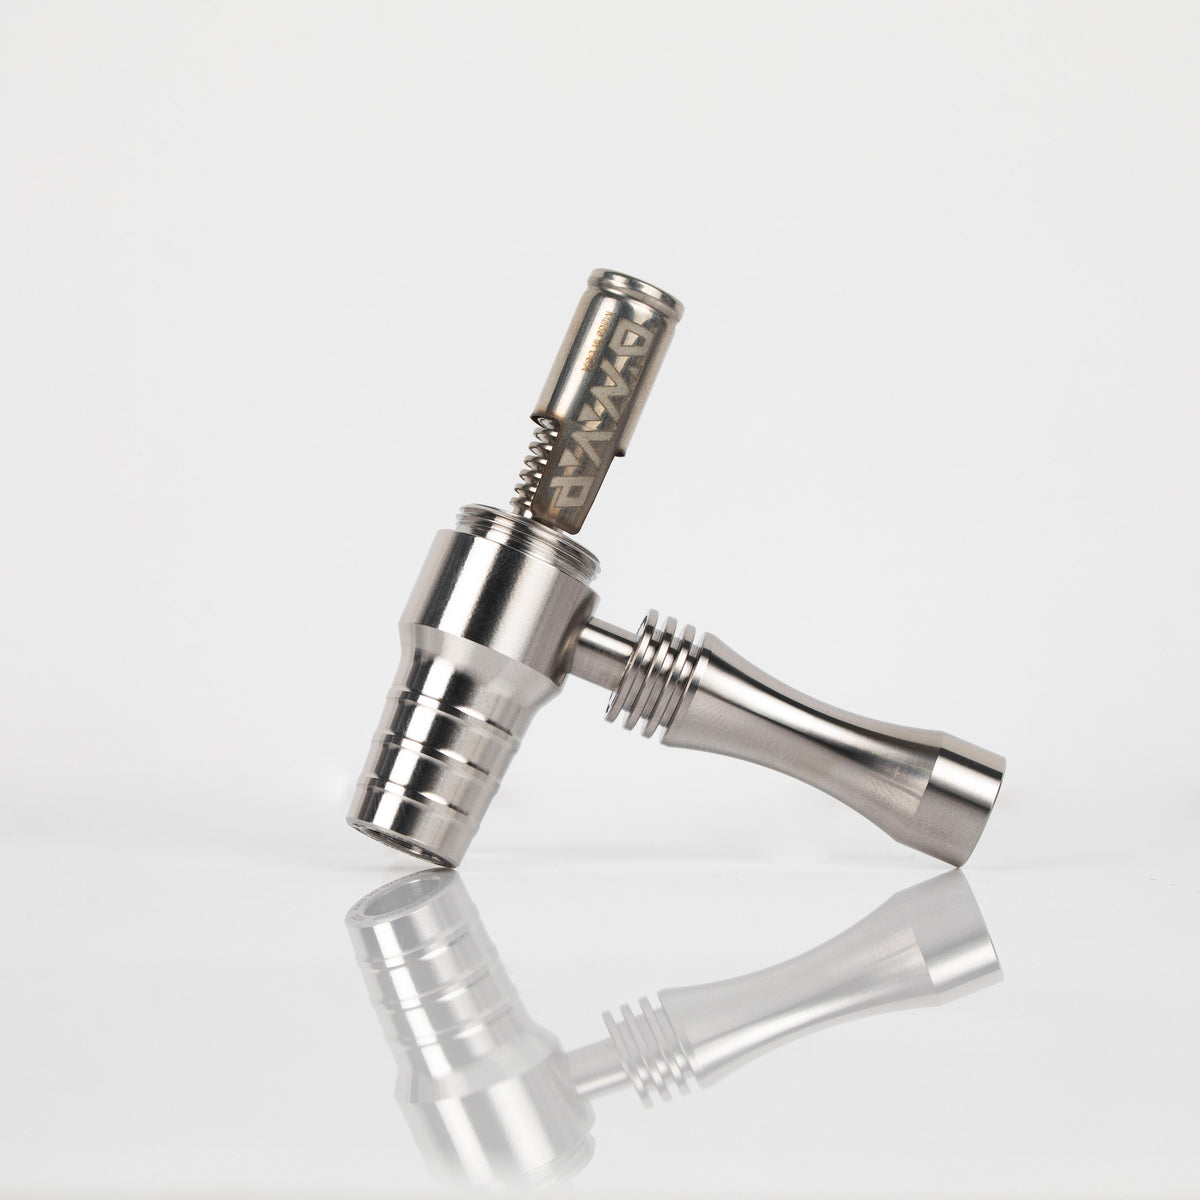
Hydro XL stainless steel thermal assembly showing the three-post key face and heat zone markings
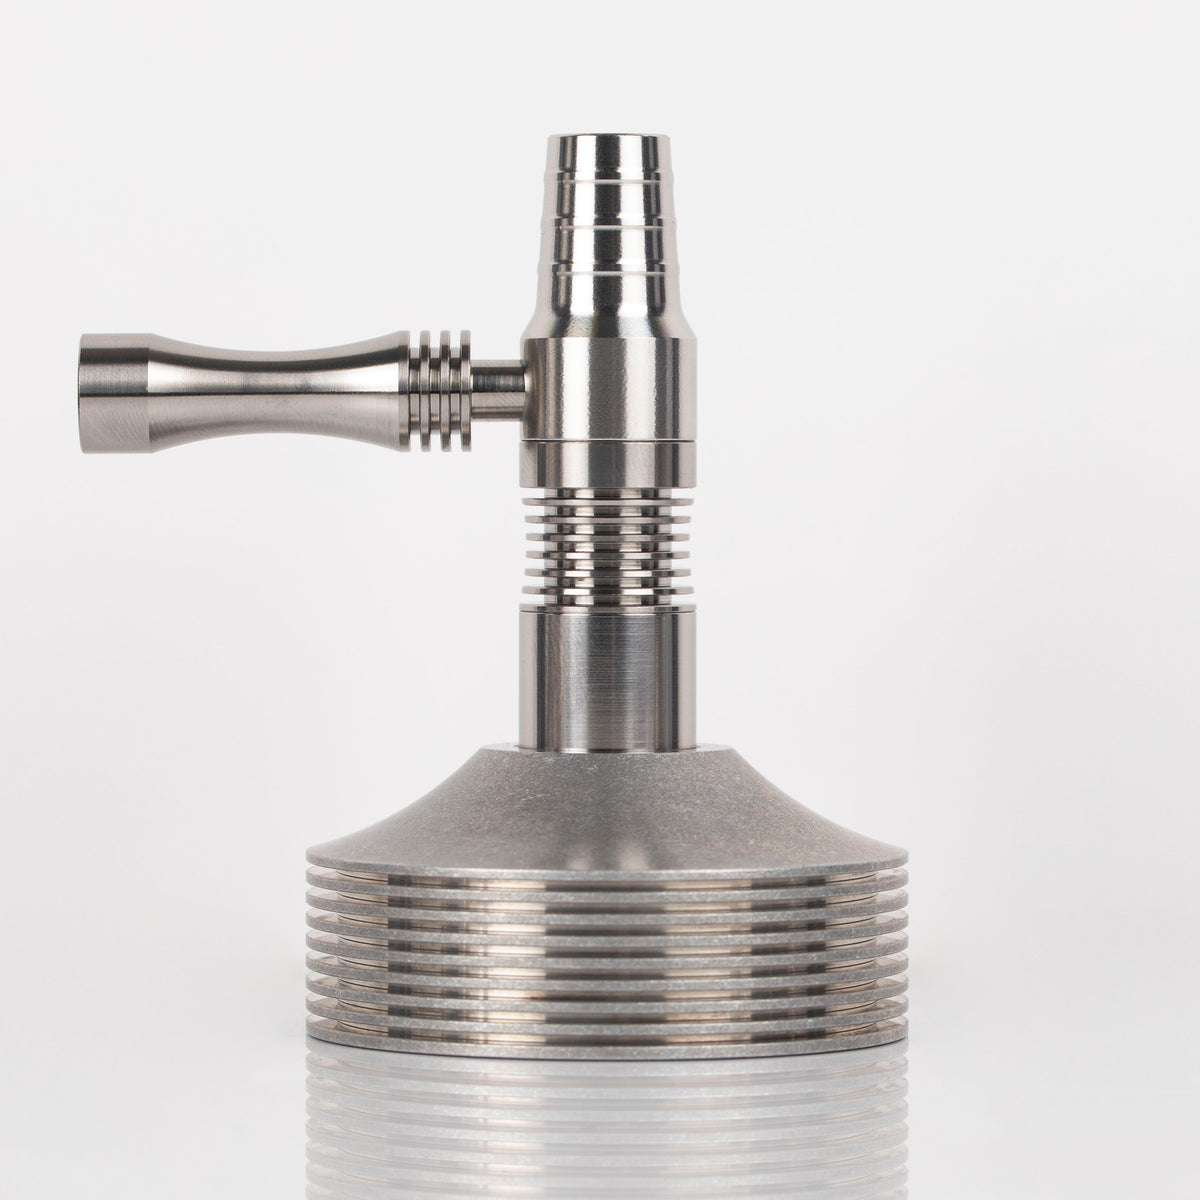
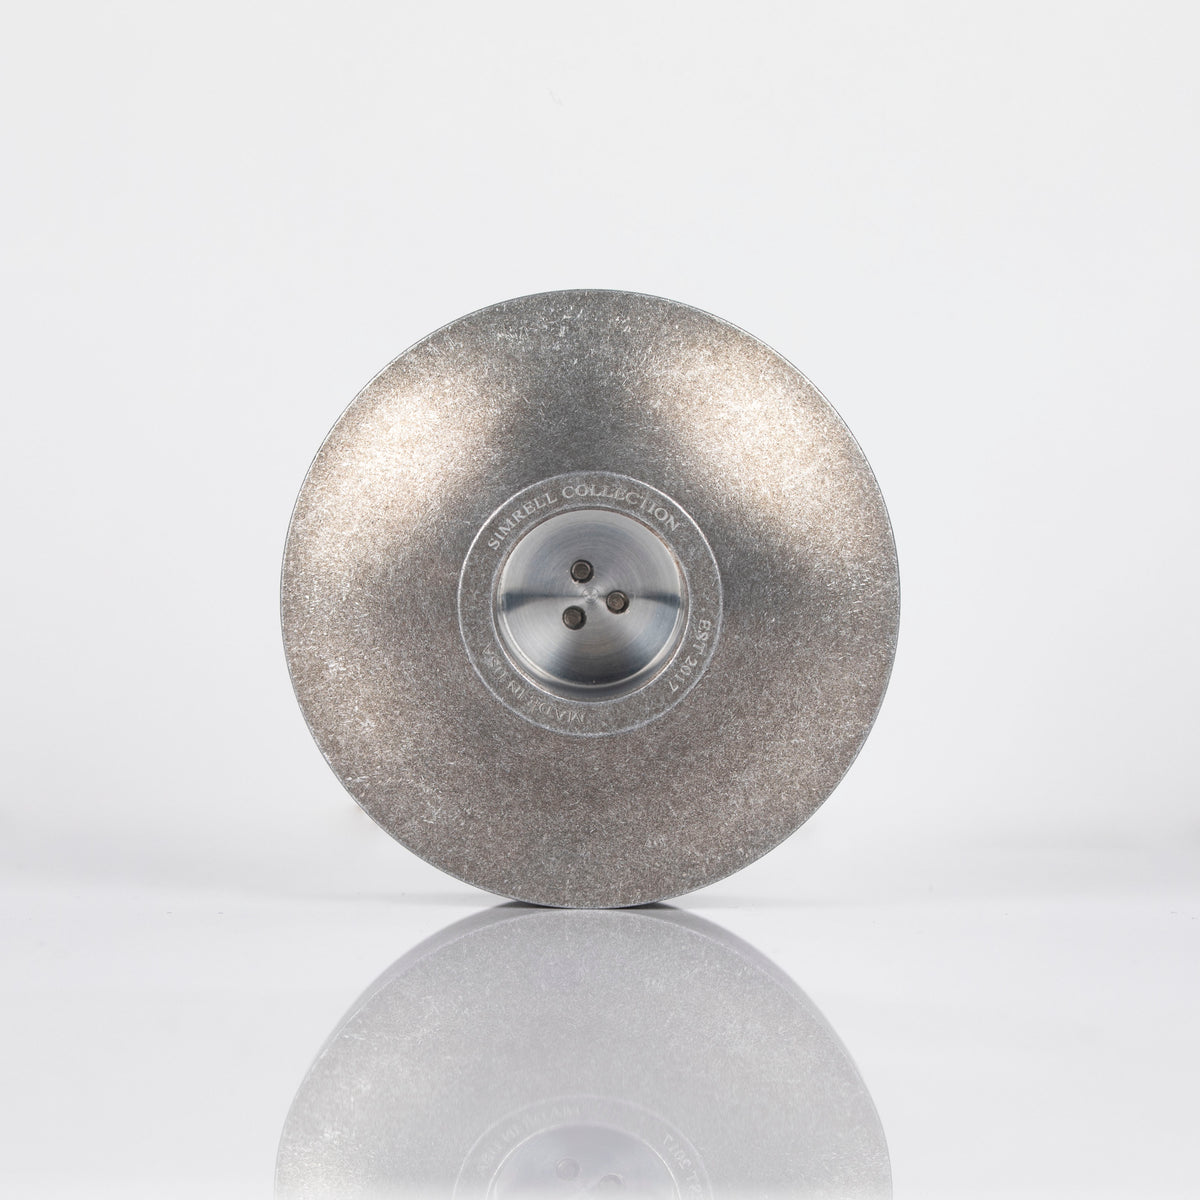
Simrell Hydro XL aluminum cooling stand with integrated magnetic 3-post key
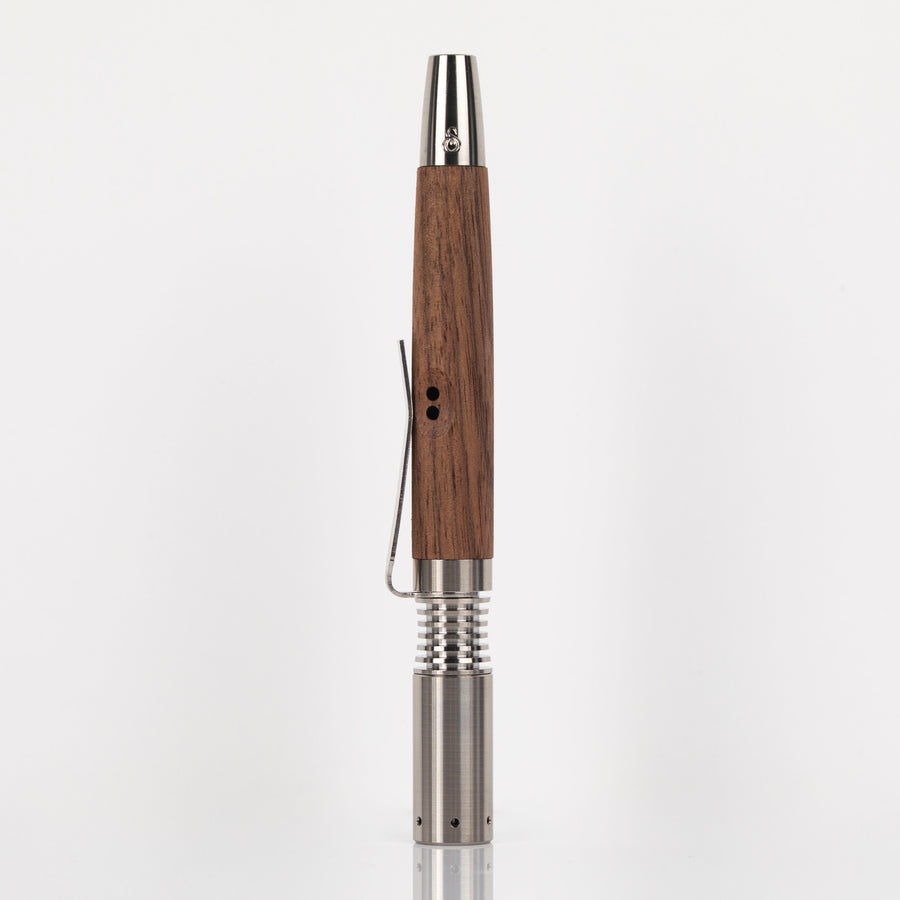
Hydro XL beside the standard Simrell Hydro showing the larger chamber
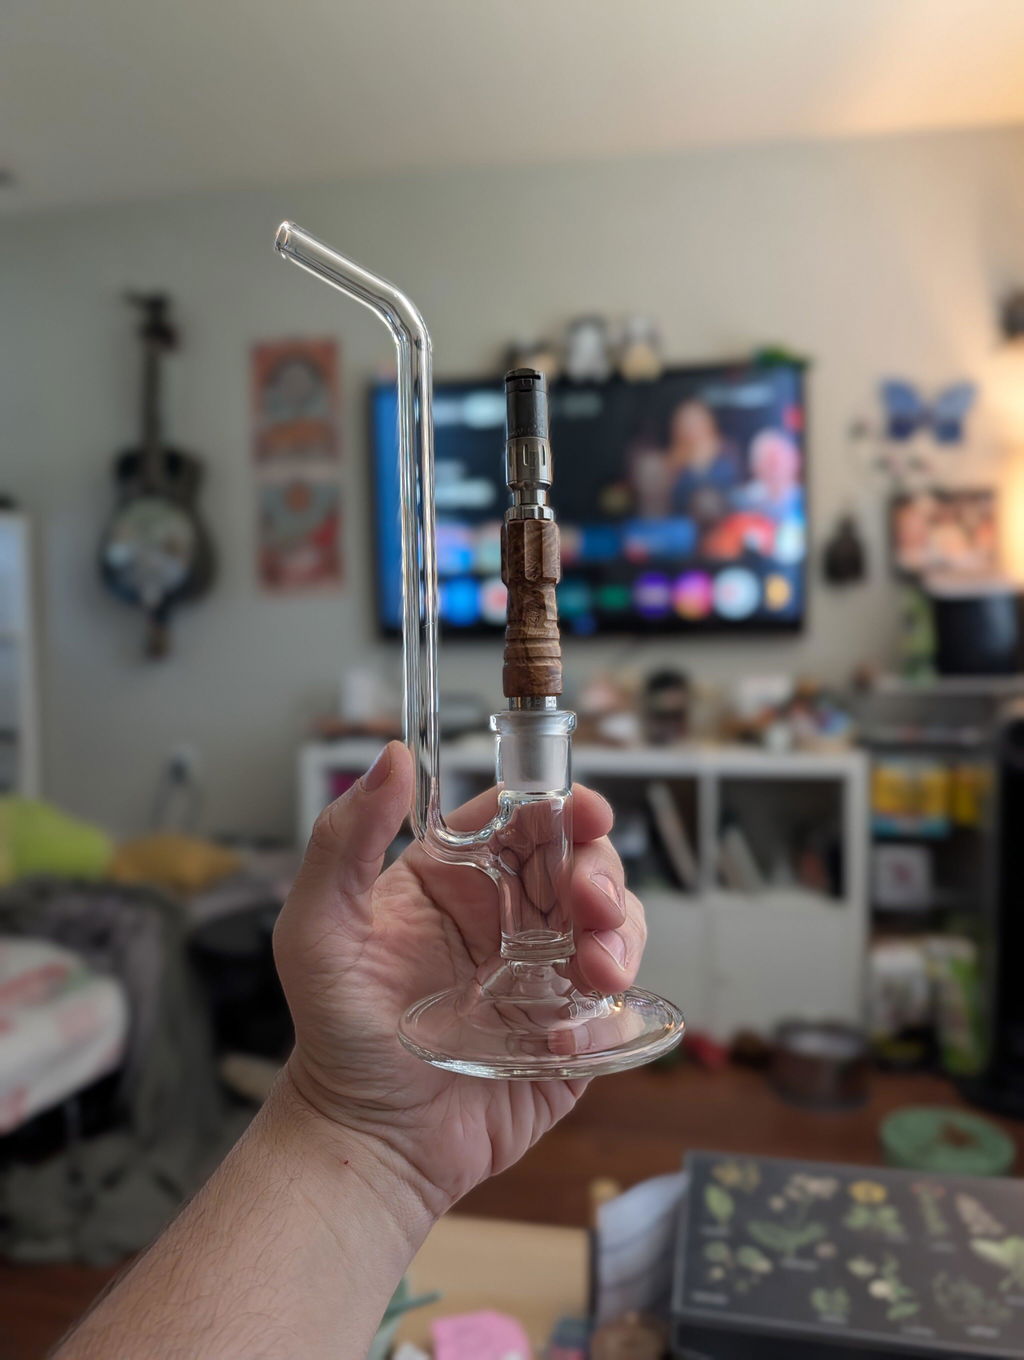
Simrell Hydro XL connected to a 14mm dry glass Sherlock pipe
Hydro XL 14mm adapter accepting an 8mm DynaVap tip, showing compatibility with other 8mm vaporizers

The Simrell: Hydro XL

Sale price$320.00

BACKORDER:

Ships in 4–6 weeks

This run has sold out, but more are in production now. You can still order today, and backorders ship in the order they're placed, within 4–6 weeks.

Quantity:
Hydro XL beside the standard Simrell Hydro showing the larger chamber

01 · Capacity

Built for a Bigger Session

Since we released the original Hydro, one of the things we've heard over and over is that you wanted a bigger chamber. So we built one.

The standard Hydro was designed around smaller, microdose extractions. The XL is for the times when you want more.

With up to .4g of capacity, you can get repeated pulls from a single pack without constantly stopping to debowl, reload, and reheat for those with a larger tolerance.

It's also much better suited for sharing. Pack it once, pass it around, and keep the session moving.

And just because the chamber can hold .4g doesn't mean you have to fill it every time. You can still run a smaller pack whenever you want.

Hydro XL stainless steel thermal assembly showing the three-post key face and heat zone markings

02 · Thermal system

A New Thermal Assembly for the XL

We couldn't just make the chamber bigger and call it an XL.

Moving that much more material meant reworking the thermal assembly to give us the airflow, heat retention and energy needed to drive the larger chamber properly.

  • Low and high-temperature audible indicators
  • Three visual heat zones
  • Increased airflow
  • Increased heat retention
  • No spinning required during heat-up
  • 3-Key Holes
Top · LowLower-temperature, flavor-forward extraction
Middle · MediumA balance of flavor, vapor density and extraction
Bottom · HighHigher-temperature, dense extraction

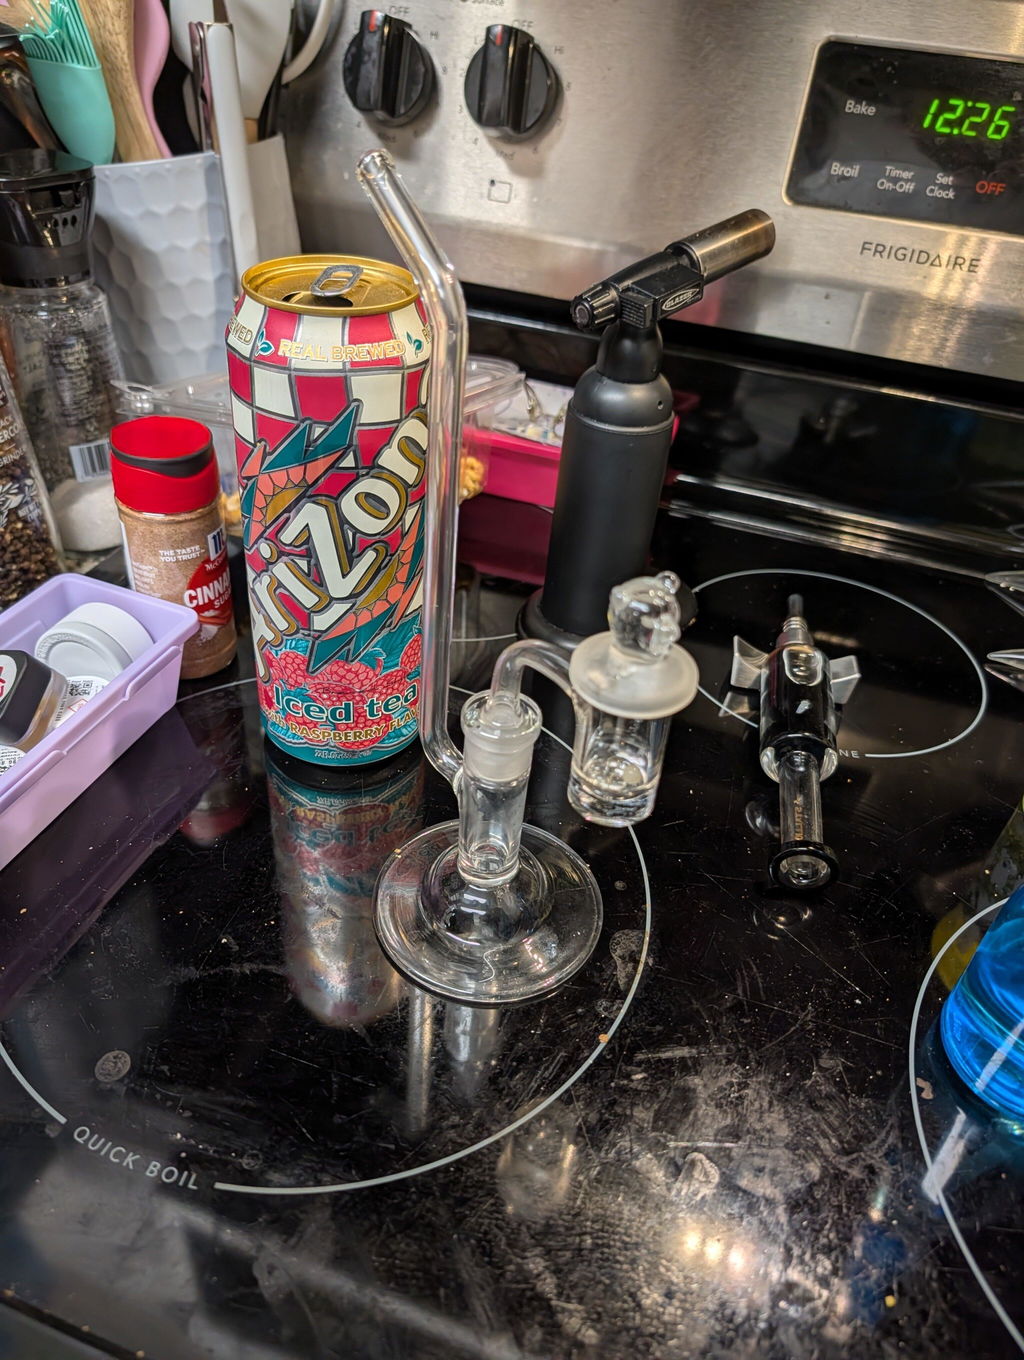
You simply choose where you want to apply the heat and wait for the click. Spinning is optional. You can use anything from a medium single-flame torch up to a full-size Blazer Big Shot. With a larger torch like the Big Shot, we recommend heating no lower than the middle indicator and starting your draw at the first click.

Hydro XL thermal assembly beside the cooling stand and its magnetic 3-post key

03 · Hot reload

The Stand Is Also the Tool

I wanted the cooling stand to do more than just hold the XL when you're finished with it.

The new aluminum stand has our 3-post key and a magnet built directly into it, so you can use the stand to remove the thermal assembly from the chamber while it's still hot.

That makes it much easier to debowl, reload and get back into the next round without waiting for everything to cool down first.

It's a small detail, but it's one of my favorite parts of the new system.

Simrell Hydro XL connected to a 14mm dry glass Sherlock pipe

04 · 14mm integration

Built Around 14mm From the Start

The Hydro XL comes with our threaded stainless steel water piece adapter for a secure connection to a standard 14mm female water piece.

The XL is equally at home through water or through a dry piece. Use it however you prefer.

Hydro XL 14mm adapter accepting an 8mm DynaVap tip, showing compatibility with other 8mm vaporizers

05 · 8mm compatibility

Native 8mm Compatibility

The adapter also accepts 8mm devices natively, so you don't need to stack a bunch of adapters together when you want to use something else with it.

06 · Extraction

“Dab With Flower”

This is still one of the ideas at the center of the Simrell system.

Instead of combusting the entire bowl, we're using controlled heat to vaporize what's on the flower without setting the plant material on fire.

With the amount of thermal energy available in the XL, you can get the kind of dense, hard-hitting extraction people tend to associate with concentrates while still using flower.

Heat the flower. Vaporize the trichomes. Leave combustion behind.

07 · Complete system

Everything You Need Is Included

Complete Simrell Hydro XL system laid out: chamber, thermal assembly, titanium handle and aluminum cooling stand

I didn't want the XL launch to turn into a list of pieces you had to buy separately just to put the system together.

Every Hydro XL comes as a complete system.

Patents Pending

  • XL Titanium Extraction ChamberUp to .4g
  • XL Surgical Stainless Steel Heat ExchangerIncluded
  • XL Surgical Stainless Steel Thermal CapacitorIncluded
  • Thermostat DiscsIncluded
  • Aluminum Cooling StandMagnetic 3-post key
  • Titanium Handle10-24 threads
  • Surgical Stainless Steel Water Piece Adapter14mm + native 8mm
  • Screen1/2"
Simrell Hydro XL large-capacity dry herb vaporizer in its cooling stand

08 · Made here

Built Here. In Small Batches.

Like the rest of the Simrell line, we're making the Hydro XL here in the USA in small batches.

Each one is machined, inspected, fitted and assembled by us here in the USA, so the first orders are going to take us a little time to work through.

Thank you to everyone who kept asking us to make this one. It's definitely a beast of its own and worthy of anyone's collection.

We're currently estimating 4–6 weeks for new orders, and we'll ship them in the order they were placed as quickly as we can.

If that timeline changes, I'll keep everyone updated.

100% Made in the USA. Titanium & Surgical Stainless Steel. No batteries. No electronics. Your ritual. Your rules.

QUICK START GUIDE

The Simrell Hydro XL assembled with its handle, standing in the tri-key stand

Simrell: Hydro XL The Quick Start Guide

The Hydro XL parts numbered 1 to 7, with assembly diagrams for steps 1 to 3 and the handle

Parts List

  • 1- Thermostat Discs
  • 2- Stainless Steel Thermal Capacitor
  • 3- Stainless Steel Heat Exchanger
  • 4- Titanium Extraction Chamber (Bowl)
  • 5- 14mm Water Piece Adapter (WPA)
  • 5a- Optional 8x1mm O-ring
  • 6- Threaded titanium WPA handle
  • 7- Tri-key Stand

Assembly

  1. Step 1-Stack the thermostat discs (1) on top of the thermal capacitor (2).
  2. Step 2-Use the “T” end of an intercooler (or a flathead screwdriver) to install
    the thermostat discs (1) and the thermal capacitor (2) into the heat
    exchanger (3), and screw into place without overtightening.
  3. Step 3-Insert the extraction chamber (4) into the heat exchanger (3), and
    screw into place. Then reverse thread the WPA (5) onto the chamber.

Make sure the thermostat
discs are stacked correctly.

Clockwise rotation to attach
heat exchanger to extraction chamber

Counter-Clockwise rotation to attach
extraction chamber to a threaded device

Clockwise rotation to attach handle to WPA

Torch flames aimed at the top half and at the lower half of the visual indicators (3a) on the heat exchanger

Torch Heating

The Hydro XL excels with torches ranging from medium flames (e.g. Blazer
Spitfire) to large flames (e.g. Blazer Big Shot). Point your torch at the visual
indicator of choice (no need to spin) and wait for the thermostat discs to click.

Play with your flame distance/size to achieve your desired results. It is not uncommon for both discs to click at the same time when
using larger flame sizes.

Low-Temp

Tip:Light to Medium Pack

To produce a low-temp extraction, heat
towards the top half of the indicators (3a).
Ensure you have a light to medium pack for
optimal extraction. Stop heating once the
thermostat discs click and start inhaling.

High-Temp

Tip:Medium to Tight Pack

For a high-temp extraction, keep the flame
pointed at the lower half of the visual indicators
on the heat exchanger (3a). Ensure you have a
medium to tight pack for optimal extraction.
Stop heating once the thermostat discs click
and start inhaling.

Download the printable guide (PDF)