

Simrell: Hydro
the
Quick
Start
guide
Cart
Your cart is empty


 Customize
Save 10% on accessories
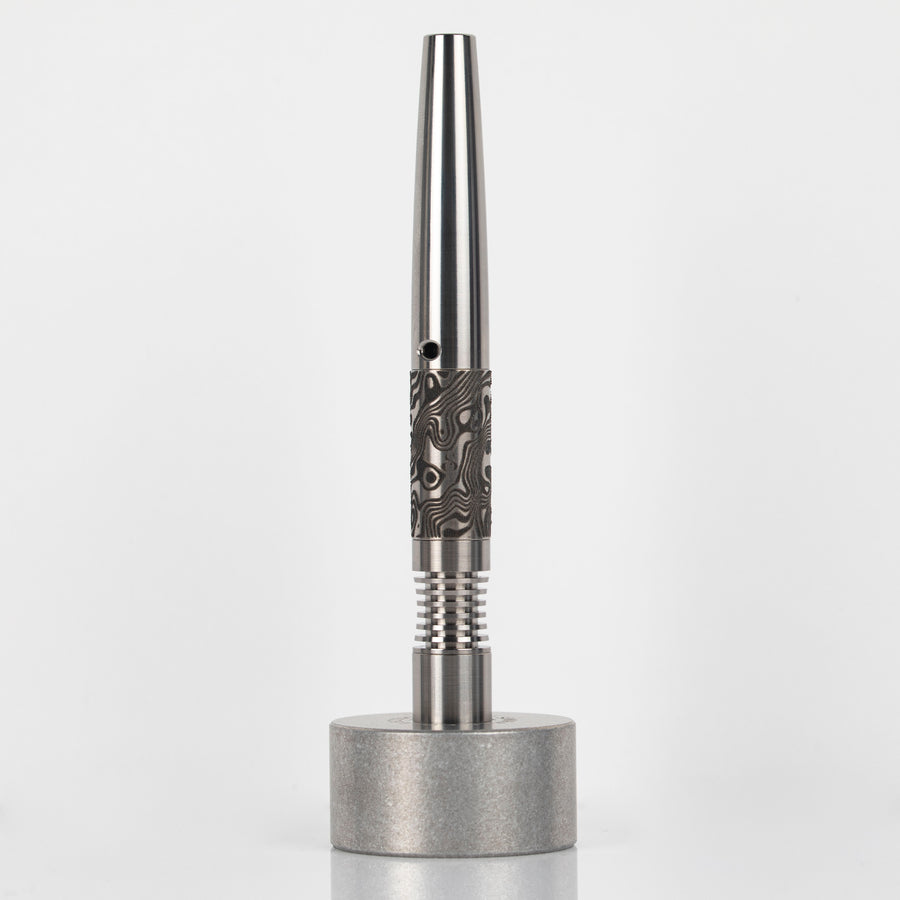
Stonewashed aluminum stand and heat sink that cools your engine faster between sessions.
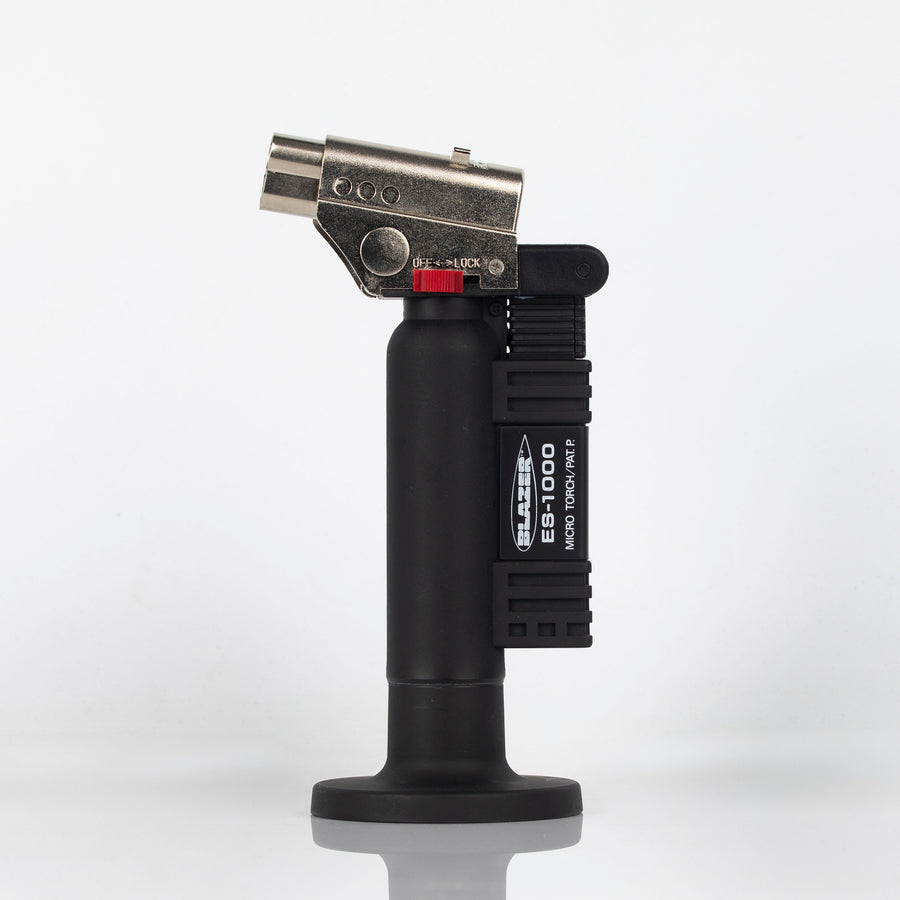
Pencil torch with a precise 2,500°F flame and a pull-down stand for hands-free heating.
A spare set of thermostat discs. The same set fits every Simrell thermal assembly.
Own a Hydro? View the Quick Start Guide
Choose options
Customize
Save 10% on accessories
Stonewashed aluminum stand and heat sink that cools your engine faster between sessions.
Pencil torch with a precise 2,500°F flame and a pull-down stand for hands-free heating.
A spare set of thermostat discs. The same set fits every Simrell thermal assembly.
Own a Hydro? View the Quick Start Guide
Customize
Save 10% on accessories
Stonewashed aluminum stand and heat sink that cools your engine faster between sessions.
Pencil torch with a precise 2,500°F flame and a pull-down stand for hands-free heating.
A spare set of thermostat discs. The same set fits every Simrell thermal assembly.
Own a Hydro? View the Quick Start Guide
Built for you and shipped in 1-2 days
Built for you and shipped in 1-2 days
Built for you and shipped in 1-2 days

01 · Desktop platform
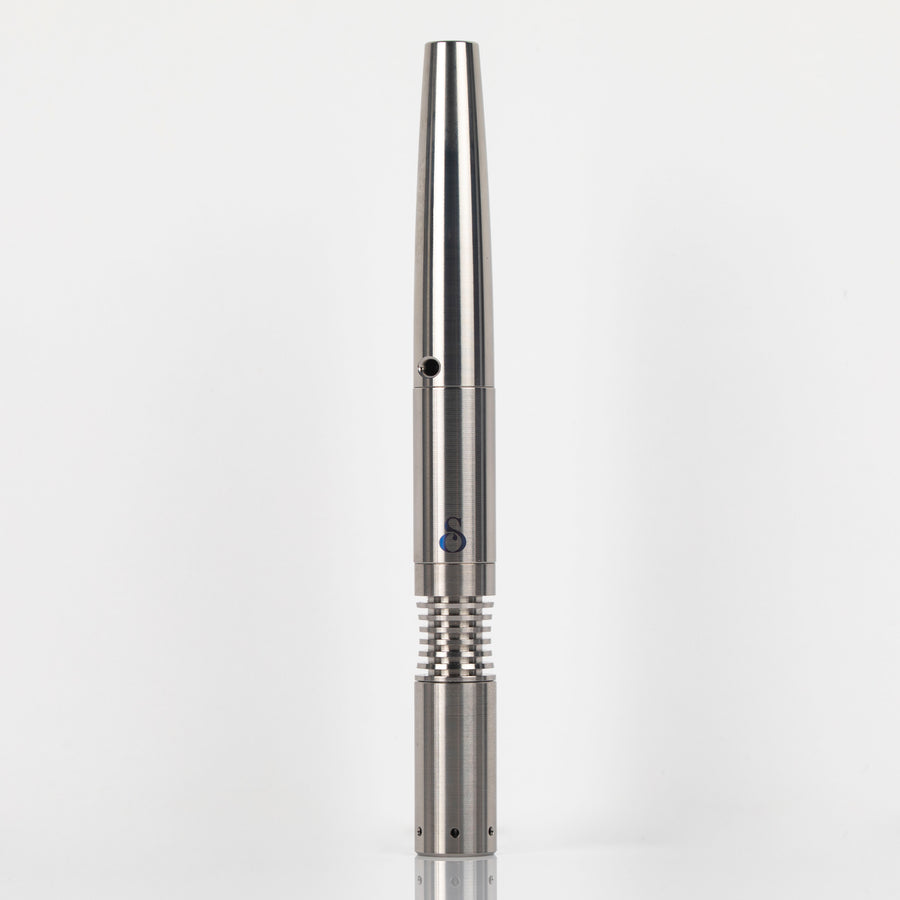
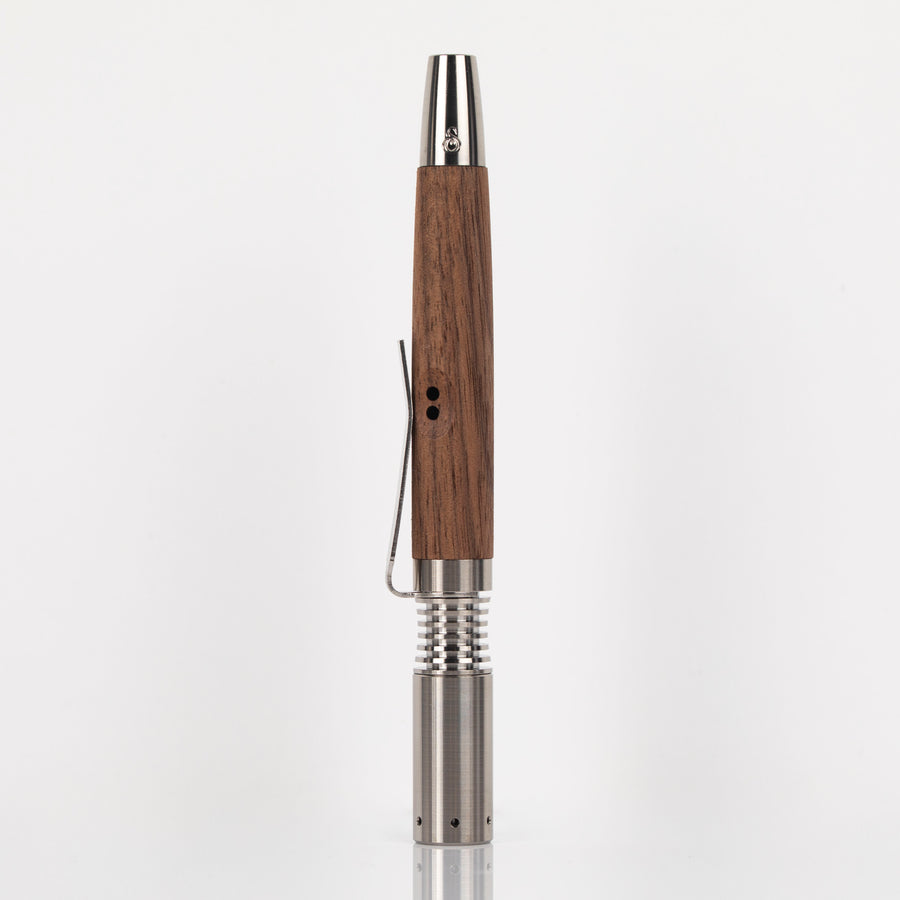
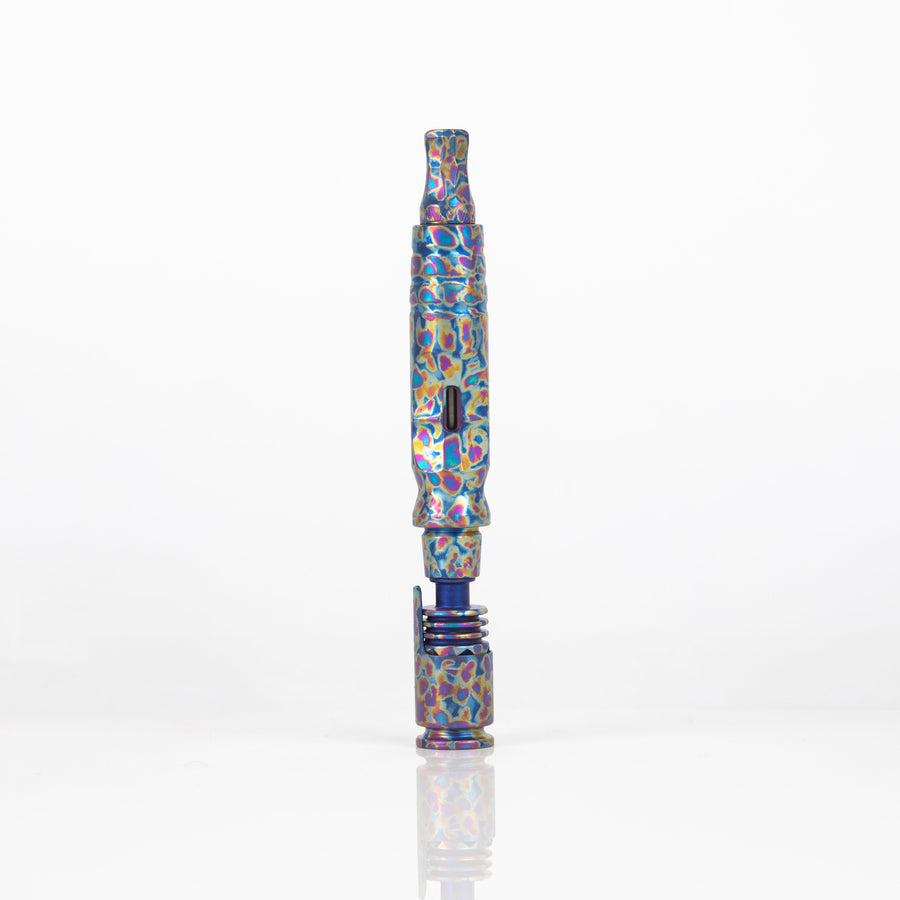
The Hydro is our microdose desktop platform, built for anyone who prefers their thermal extraction through a rig.
It pairs our titanium extraction chamber with a surgical stainless steel thermal assembly, and it runs on a torch or an induction heater. No batteries, no chargers and no firmware.

02 · Thermal system
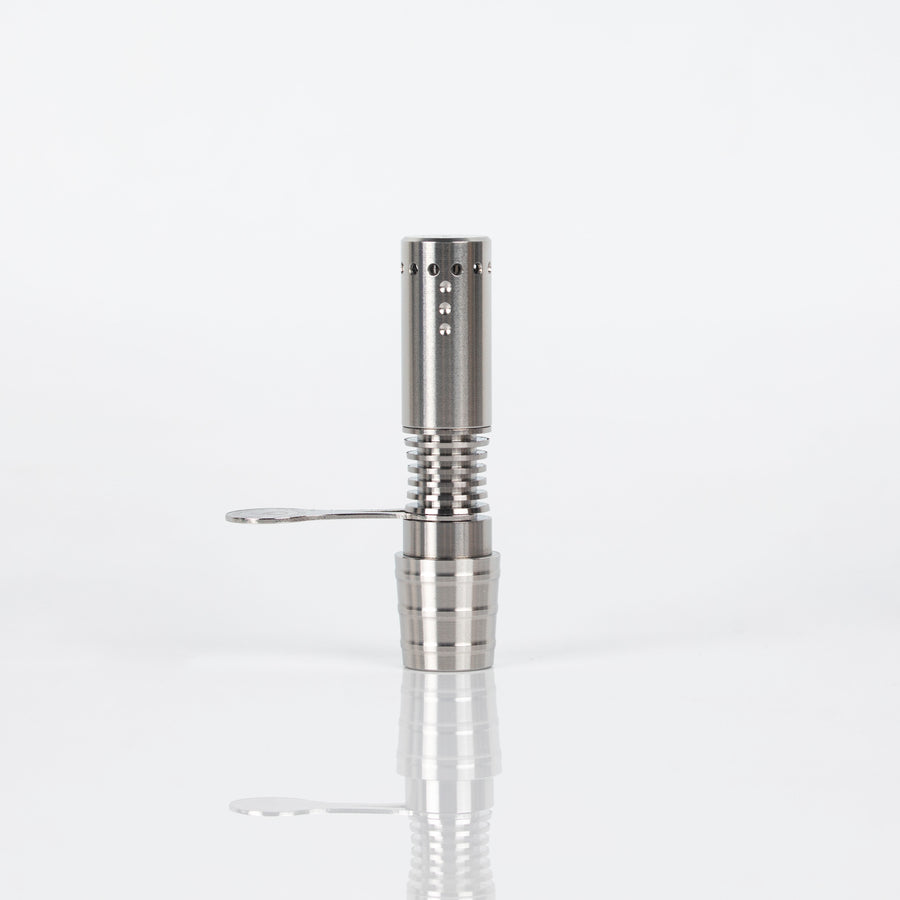
We reengineered the stainless steel thermal assembly for the Hydro, and it makes the Hydro the easiest Simrell to learn. Aim your torch at an indicator and wait for the clicks. There's no need to spin it, so every session is easy to repeat, with heavier, denser hits.

03 · Heat zones
Each indicator on the heat exchanger gives you a different style of vapor. Pull at the first click for a lower temperature, or wait for the second for a higher one.
With a large torch like a Big Shot, don't aim below the middle indicator, and pull at the first click.

04 · 14mm integration
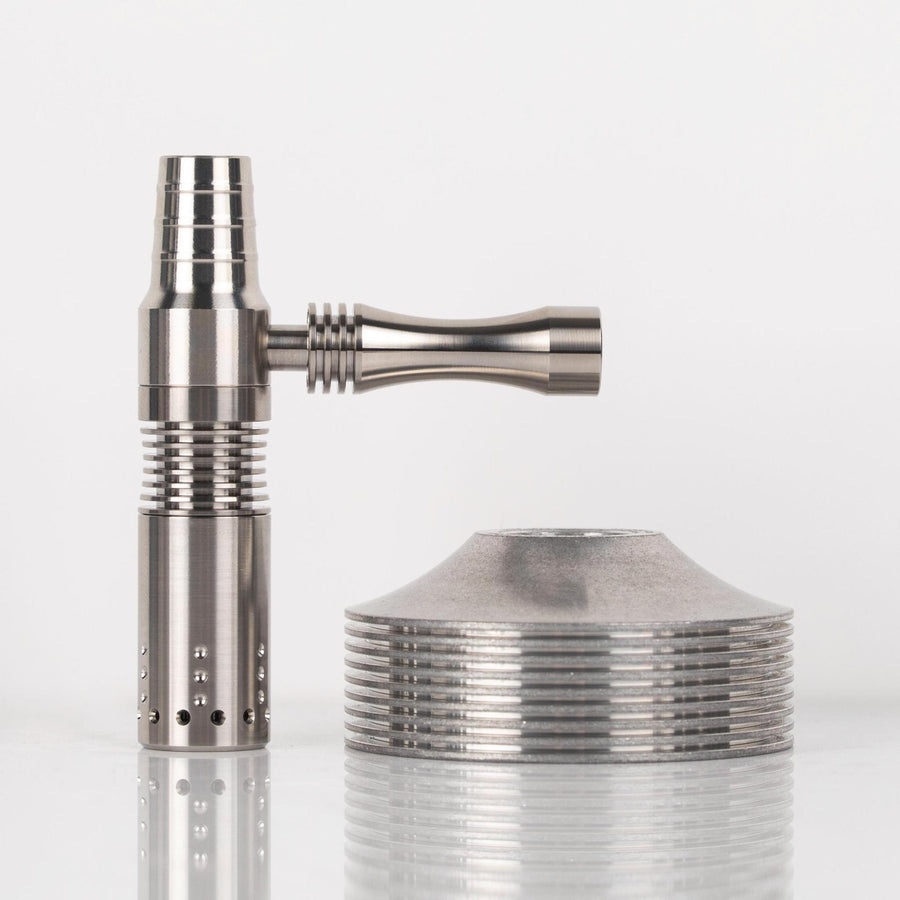
The Hydro's surgical stainless steel 14mm adapter threads onto the chamber, so the fit is stable, secure and built to last.
It was designed from the ground up for rig use, through a water pipe or a dry pipe.

05 · Portability
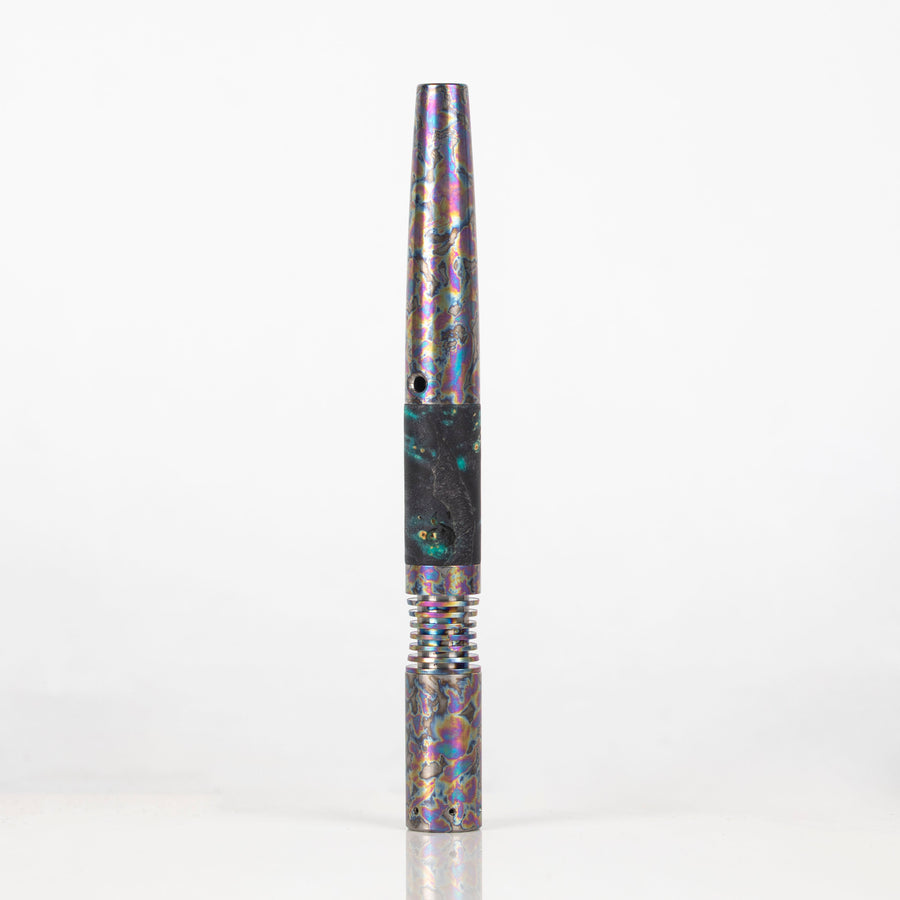
Pair the Hydro's Stainless thermal assembly with a Titanium Vortex or Heritage stem when you want something more portable.
Stems are sold separately.

06 · Thermal assemblies
Our Classic Titanium, Titanium Convection and Stainless thermal assemblies all thread onto this same chamber. Change the assembly and you change how your Simrell heats, without buying a new device.

07 · Customize
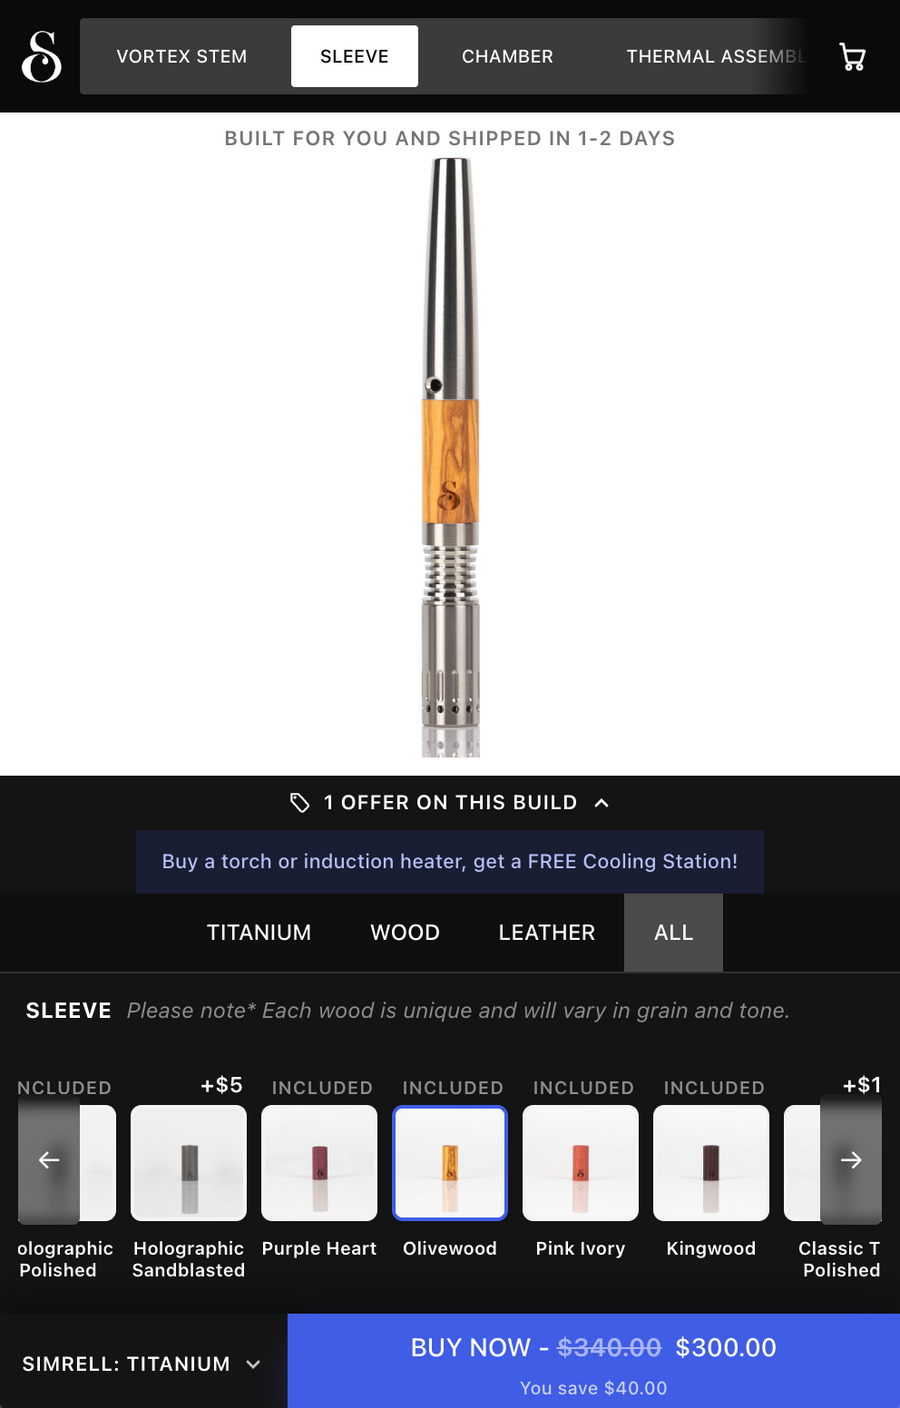
Choose your extraction and your finish. Pick the thermal assembly, the chamber and the finish of the 14mm adapter in our customizer, and see each change before you order.
Extraction
Like the rest of the Simrell line, the Hydro vaporizes the trichomes on the flower without setting the plant material on fire.
You get concentrate-level intensity from flower, with more control over your dose and less reliance on costly extracts.

08 · Complete system
Every Hydro arrives as a complete system, ready for your water piece.
Patents pending.
Complete your setup and save 10%
Simrell: Hydro
the
Quick
Start
guide

Parts List
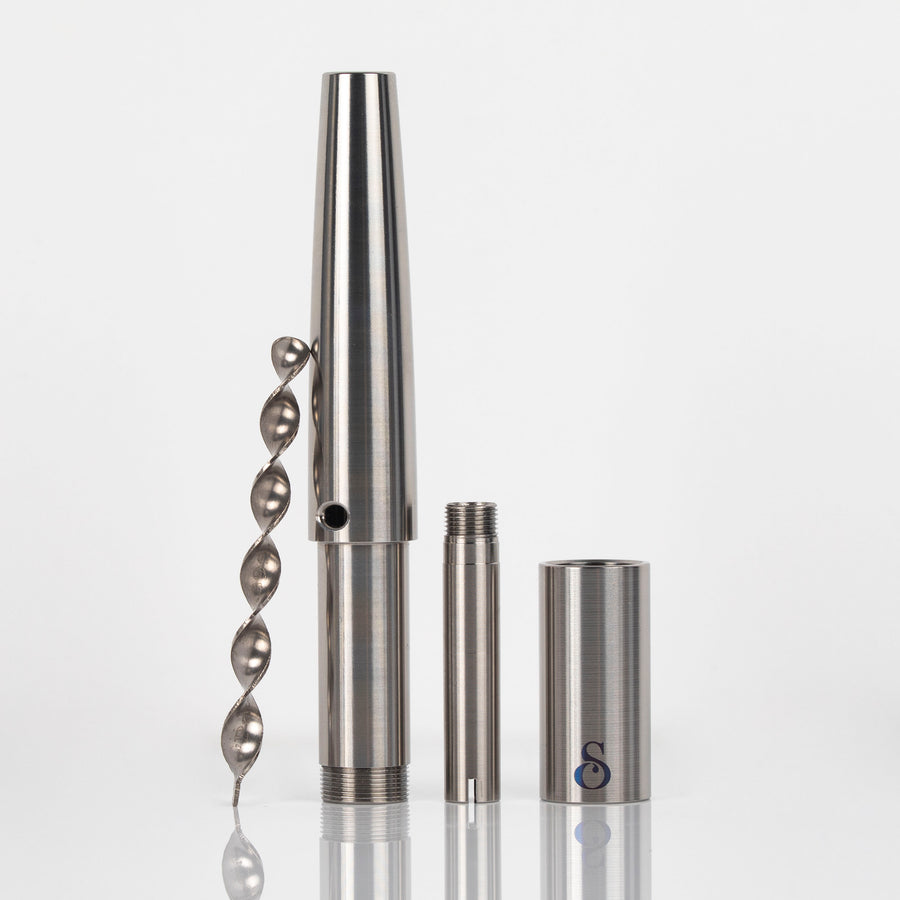
1 - Thermostat Discs
2 - Stainless Steel Thermal Capacitor (Convection Insert)
3 - Titanium Extraction Chamber (Bowl)
4 - Stainless Steel Heat Exchanger
5 - 14mm Water Piece Adapter (WPA)
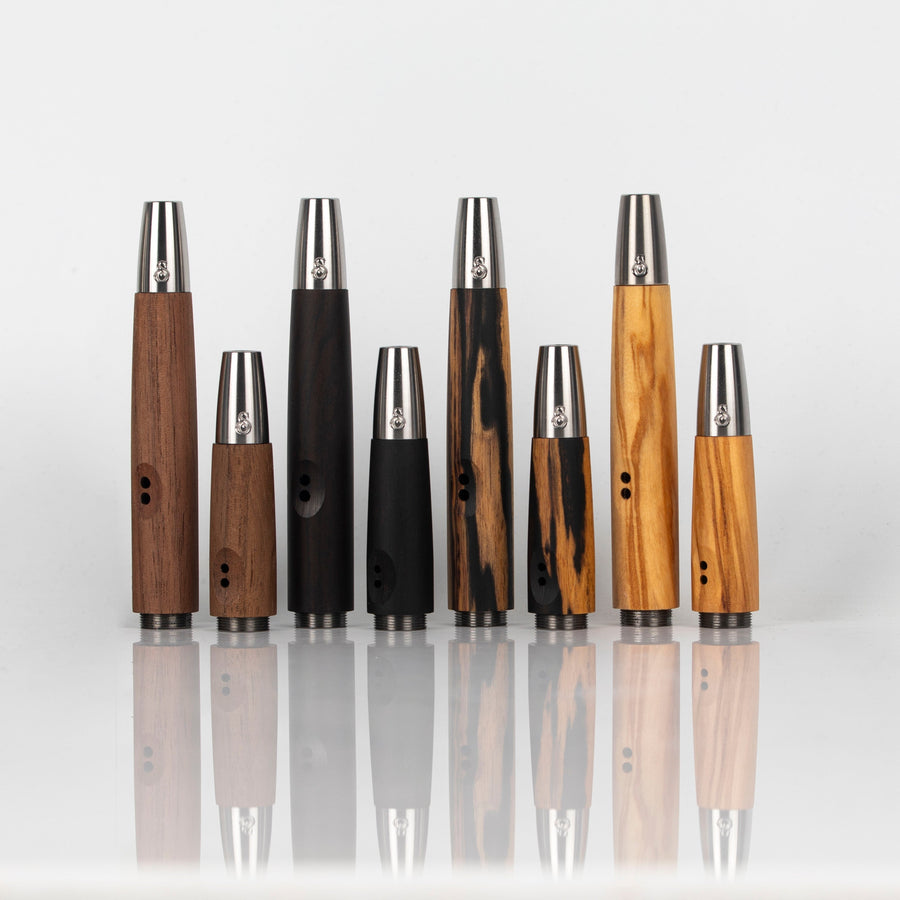
6 - Handle
Assembly
Step 1 - Stack the thermostat discs (1) on top of the thermal capacitor (2).
Step 2 - Use the “T” end of an intercooler (or a flathead screwdriver) to install
the thermostat discs (1) and the thermal capacitor (2) into the heat
exchanger (4), and screw into place without overtightening.
Step 3 - Insert the extraction chamber (3) into the heat exchanger (4), and
screw into place. Then reverse thread the WPA (5) onto the chamber.
Step 4 - Snap the handle (6) beneath the bottom fin of the extraction chamber (3).
Gently squeeze the tabs to adjust the fit, adjust position if desired.
Make sure the thermostat
discs are stacked correctly.
High Temp
Low Temp
Clockwise rotation to attach
heat exchanger to extraction chamber
Counter-Clockwise rotation to attach
extraction chamber to WPA

Torch Heating
The Hydro can be used with any sized torch ranging from a small single flame to
a Blazer Big Shot. Simply point your torch at the heat zone of your choice and
wait for the thermostat discs to engage. No spinning is necessary.
Play with your flame distance/size to achieve your desired results. When using a larger torch like a Blazer Big Shot, don’t go below the
middle indicator and stop heating at the first click. It is not uncommon for both discs to click at the same time when using a larger torch.
Convection
Tip: Looser Pack
For convection leaning vapor, we recommend
a medium to large sized torch and keep the
flame pointed at the top indicator on the heat
exchanger (4) until it clicks.
Hybrid
Tip: Medium Tightness Pack
For hybrid leaning vapor, keep the flame pointed
at the middle indicator on the heat exchanger (4).
Pull at the first click for low-temp or pull at the 2nd
click for a higher temp. Use any small to medium
sized flame to dial in your experience.
Recommend heat zone
to get familiar with the device
Conduction
Tip: Tighter Pack
For conduction heavy vapor, the darkest AVB,
and the most sedative experience, keep the flame
pointed at the lowest indicator (4) until it clicks.
Use a small single-flame torch for this as too much
heat makes overcooking a likely outcome.

Induction Heating
The Hydro can be used with induction heaters as well. These recommendations
will get you started producing great vapor. You can experiment with different
settings to achieve your desired results.
Ispire Wand
Tip: Align the first fin of the extraction engine
with the red gasket/glass
There are two ways to run the Wand. You can set the
Wand to 550f-650f and remove when the screen times
out (disregarding clicks). This will result in a Golden Zone™
roast. Or you can set the wand temperature all the way
up (max) and then remove during the first click or the
second. This will result in a higher temperature, denser
vapor, and darker AVB.
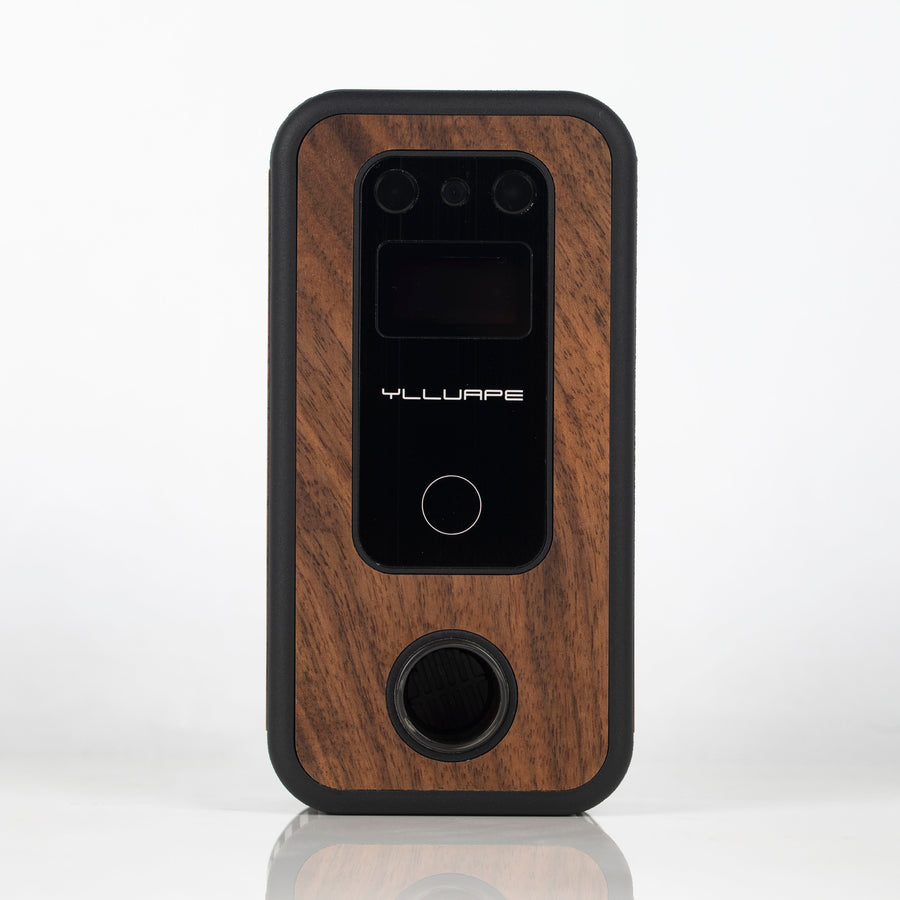
YLL 3.0
Tip: Align the first fin of the extraction engine
with the black gasket/glass
Set your wattage to 100w (it will automatically adjust
wattage output based on the remaining charge/voltage
of the batteries). Set the timer to 60 seconds for a Golden
Zone™ roast. Insert for an additional 5-10 seconds for a
dark roast. You can play with the depth insert of the YLL
to dial in your vapor density and AVB (inserting more or
less of the heat exchanger) and adjusting the timer.
Based on the current charge/voltage of the batteries, the time requirements and power
output may vary.